To install pavers, mark the area and call 811, dig out the soil, add and compact 6 to 8 inches of crushed gravel basers, slope it for drainage, spread a 1 inch bed of coarse sand, lay the pavers, add edge restraints, fill the joints, and compact.
That order matters, and the base matters most of all. A patio laid on a thin or soft base will sink and shift after the first heavy Florida rains, while the same pavers on a deep, well compacted base stay flat for years.
We have built paver patios, walkways, pool decks, and driveways across Flagler County since 2015, and nearly every failed patio we see traces back to the same cause. The base was too thin, it was compacted in lifts that were too thick, or water had nowhere to go. Get the base right and the rest of the job is simple. This guide walks through each step the way we do it in Florida sand, with the depths and rules straight from Unilock.
Before You Start: Plan, Measure, and Call 811
Start by measuring the area and sketching the shape on paper. A rectangle is easy to measure, but a curved patio needs a garden hose laid on the ground to mark the outline. Measure twice, because the paver count, the gravel, and the sand all come from those numbers.
Next, pick your paver and plan where water will drain. Water must run away from the house and off the patio, never toward a door or a low spot in the yard. If you are still choosing between materials, our pavers vs concrete guide can help, and our custom patio ideas show shapes and patterns that work well in Florida yards.
Before you dig, call Sunshine 811 at least two full business days ahead. Florida law requires it, and the service is free. The number is Sunshine 811, and crews mark buried lines so you do not hit a gas line or a cable with a shovel. Also check your HOA rules before you start, since some communities limit paver colors, patterns, or patio sizes.
Tools and Materials
Gather everything before you dig, so the job does not stall halfway. You will need:
- Stakes and string
- Shovel
- Wheelbarrow
- Rented plate compactor with a pad
- Level
- 1 inch pipes for screeding
- Straight board
- Crushed gravel base
- Coarse bedding sand
- Pavers
- Edge restraint and spikes
- Polymeric sand
- Rubber mallet
- Masonry saw or splitter
- Safety glasses and hearing protection
Most homeowners rent the plate compactor for a day or a weekend. Buy a little extra gravel and sand, since a short load stops the job cold. Keep the pavers stacked close to the work area so you are not hauling them across the yard all day.
How Deep Should a Paver Base Be?
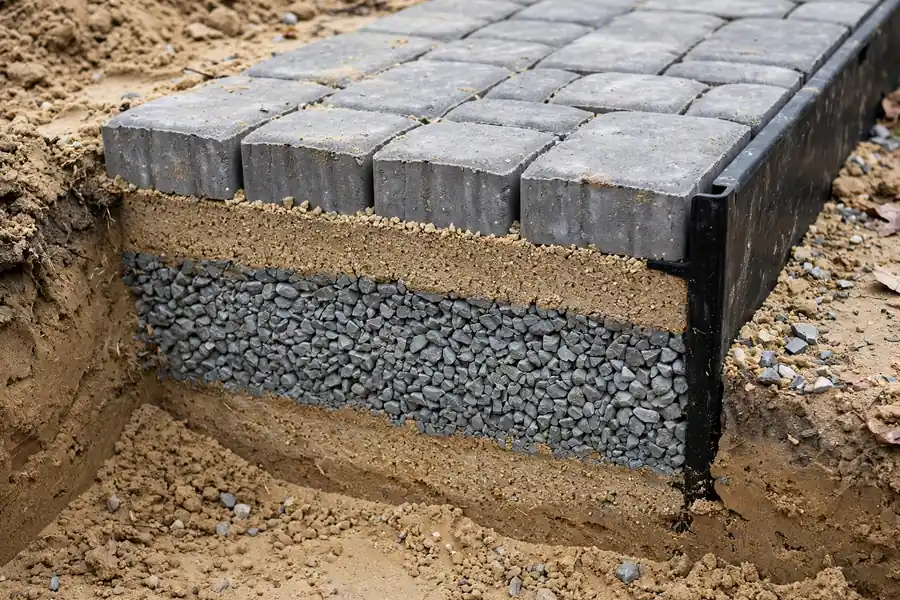
The answer depends on what will sit on the pavers. Foot traffic needs less base than a car, and a pool deck needs more than a walkway. Unilock gives these gravel base depths in its Basic Tech Guide:
| Use | Gravel base |
|---|---|
| Walkways | 6 to 8 in |
| Patios | 6 to 8 in |
| Pool decks | 6 to 12 in |
| Driveways | 10 to 14 in |
Unilock’s DIY page lists a lower range, 4 to 6 inches for walkways and 8 to 12 inches for driveways. Treat those as the floor, not the goal. In soft or wet spots, always build toward the deeper end of the range, since a base that is too thin is the most common cause of sinking pavers.
Soil type changes the digging too. Sandy soil, which covers much of Flagler County, usually needs less digging than clay, because sand drains well and holds its shape. Clay holds water and shifts, so it needs a deeper base and sometimes fabric, which we cover in Step 3. Around a pool, the base also takes more water and foot traffic, so pool decks sit in the 6 to 12 inch range, and many homeowners pair that base with travertine pavers
How to Install Pavers, Step by Step
Work through these steps in order. Do not skip ahead to laying pavers before the base is compacted and level, since every shortcut shows up later as a dip or a wobble.
Step 1: Mark and Excavate
Mark the outline with stakes and string, then dig out the soil. The dig depth equals the base depth plus the bedding sand plus the paver thickness. For a patio, that often means digging 10 to 12 inches down in total.
Dig past the edges by about the base depth, so the base extends beyond the pavers and the edge restraint has solid ground to sit on. Unilock gives a clear example: a 20 x 10 ft patio with 6 inches of base is dug 21 x 11 ft.
Step 2: Set the Slope
Set the slope before you add any gravel. Pavers need a slope of 1 to 2 percent away from the house, so rainwater runs off the patio and away from the walls. One percent means about 1/2 inch of fall over 4 feet, which is easy to miss by eye.
Use string lines pulled tight between stakes to set the slope, and check the fall with a level as you go. Keep the low side pointed toward lawn or a drain, never toward the house.
Step 3: Add Fabric Only If Needed
Geotextile fabric goes under the base only in clay or poorly draining soil. It keeps the gravel from sinking into soft soil and keeps the soil from working up into the base. In clean Florida sand, you can usually skip it.
Never use plastic sheeting under paving. Plastic traps water under the pavers, and trapped water softens the base and pushes pavers out of place, so in well draining soil a clean gravel base on sand is the right call.
Step 4: Build and Compact the Base
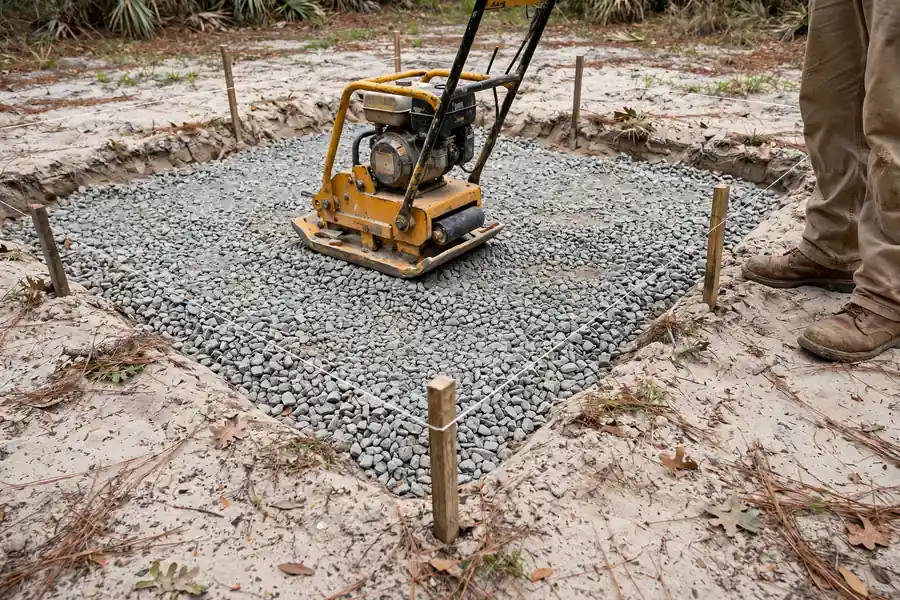
Spread 3/4 inch crushed gravel, either crusher run or clear stone, and compact it in thin lifts. Unilock’s tech guide calls for lifts of 2 to 3 inches, and its base preparation guide says to compact in layers of 3 to 4 inches. Plate compactors will not compact more than about 4 inches at once, so never dump the full depth in one thick layer.
Compact each lift fully, check the level and the slope before adding the next one, and fix low spots now, since you cannot fix them after the pavers are down without pulling pavers up. Keep adding thin lifts until you reach the full base depth for your project.
Step 5: Screed the Bedding Sand
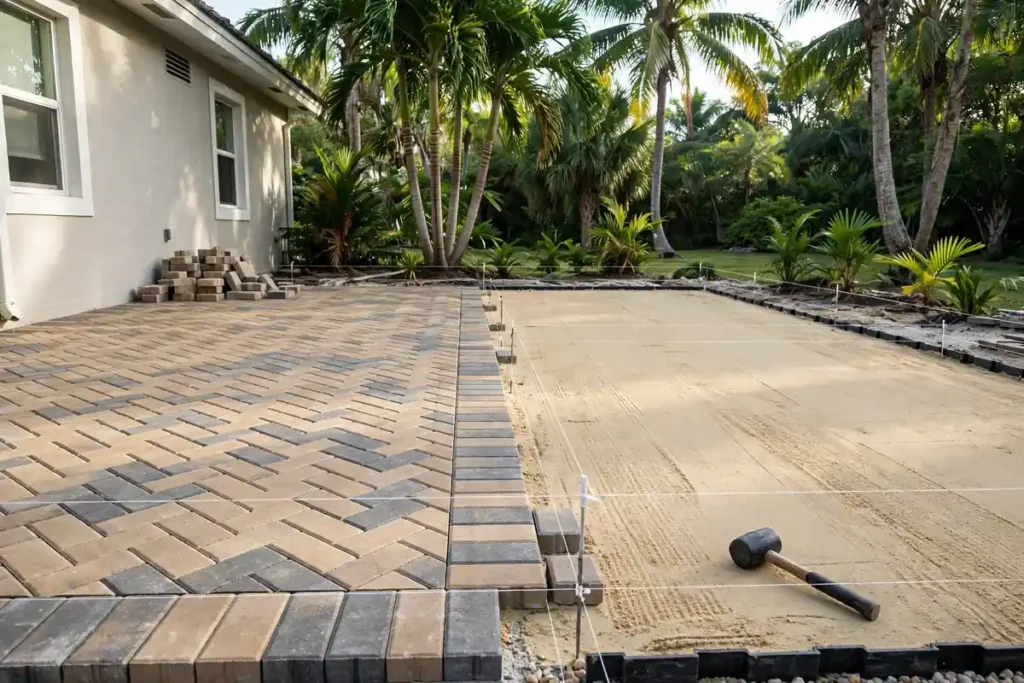
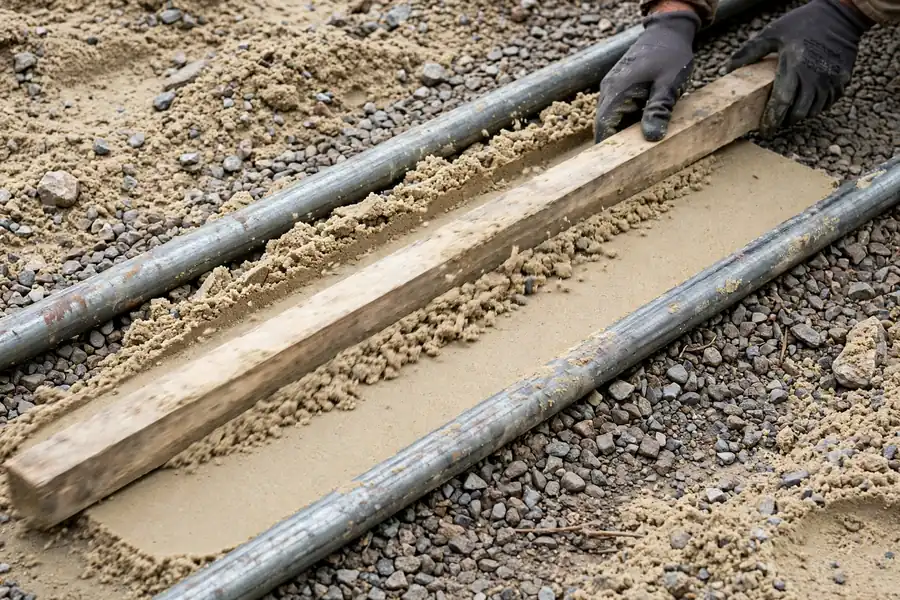
Spread a 1 inch bed of coarse sand over the compacted base. Set two 1 inch pipes on the gravel, pour sand between them, and pull a straight board across the pipes to screed the sand flat. Move the pipes as you go and fill the grooves they leave.
Do not compact the bedding sand before laying pavers, since the loose sand lets each paver settle to the same level when the patio is compacted at the end. Avoid stone dust or limestone screenings for bedding, since they hold water.
Step 6: Lay the Pavers
Start at a straight edge or a corner and work outward. Place each paver straight down onto the sand, and do not slide it into place, since sliding pushes sand into the joints and leaves the paver uneven. Keep the pattern lines straight with string lines, and check them every few rows.
Do not walk on the screeded sand. Work from the pavers you have already laid, and lay a board across them if you need to kneel, since a footprint in the sand becomes a low paver that collects water.
Step 7: Cut Edge Pavers and Install Edge Restraints
Cut edge pavers to fit with a masonry saw or a splitter. Wear safety glasses and hearing protection for every cut, and cut outside or with water control to keep dust down. Dry fit each cut piece before you move on.
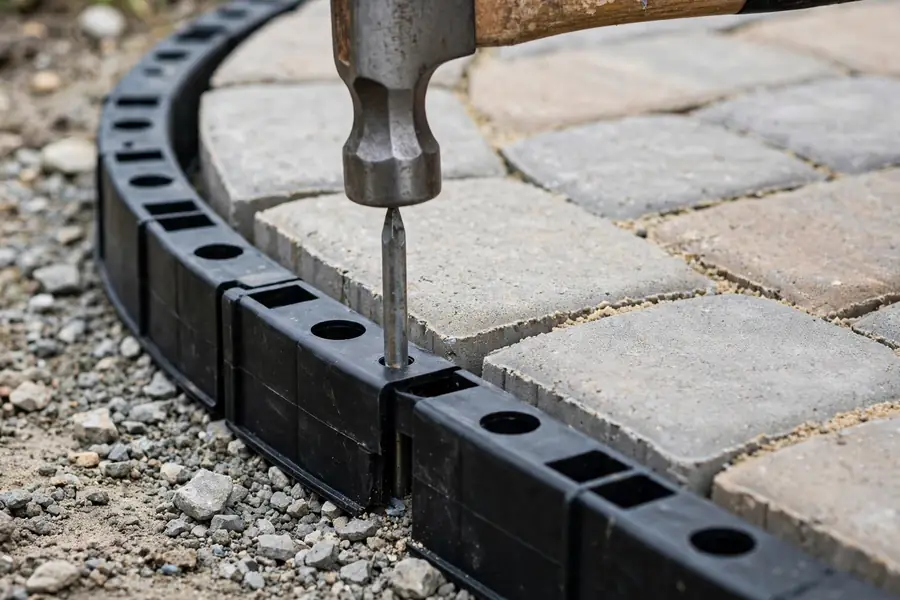
Install a plastic or metal edge restraint along the outer rows, and spike it into the compacted base. The restraint holds the edge pavers in place so the whole patio cannot spread outward, since without it the outer rows creep, gaps open, and the patio loses its shape within a season or two.
Step 8: Compact, Fill Joints, and Compact Again
Sweep the pavers clean, then compact the whole surface with a plate compactor fitted with a pad. The pad protects the paver faces from scuffs while the vibration settles each paver into the sand bed. Sweep the surface clean again after this first pass.
Next, sweep polymeric sand for pavers into the joints until it sits about 1/8 inch below the top of the pavers. Compact once more to settle the sand, sweep in more sand if the joints drop, and finish the job exactly as the bag directs, since that sand locks the pavers together and keeps weeds and ants out of the joints.
Common Paver Installation Mistakes
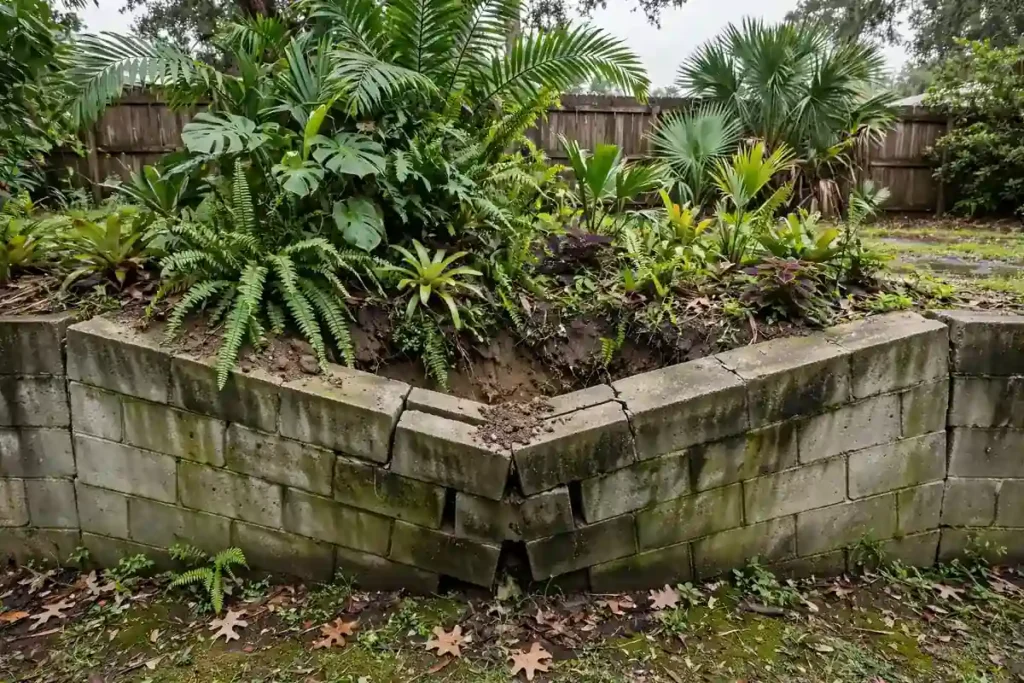
Most paver problems come from a short list of mistakes, and all of them are easy to avoid once you know them. A thin base is first on the list, since pavers on too little gravel sink under foot traffic and Florida rain. Thick base lifts run a close second, because a compactor cannot reach the bottom of a thick layer, and the loose gravel below settles later.
No slope leaves standing water on the patio, and compacting the bedding sand before laying pavers removes the cushion that lets pavers settle evenly. Stone dust bedding holds water, and skipping the edge restraint lets the outer rows spread. Plastic sheeting under pavers traps water and softens the base from below.
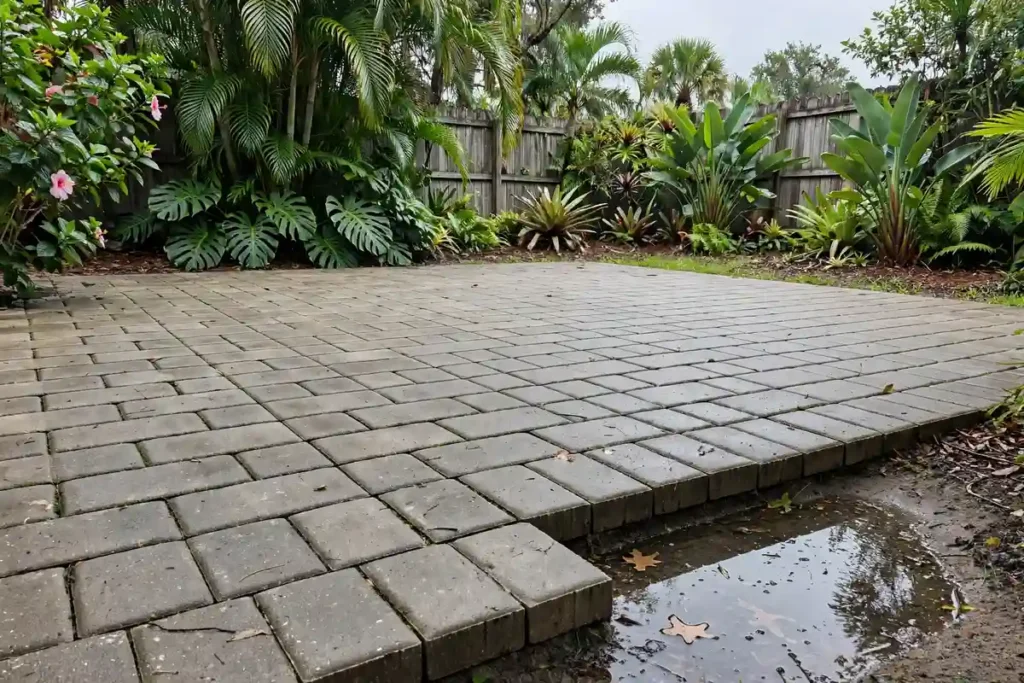
If any of these mistakes already happened at your home, the result is usually a sunken or uneven patio. See our guide on how to fix sunken pavers for what happens next and how the repair works.
After Installation: Care and Sealing
Keep the joints full after the job is done. Rain and sweeping wash a little sand out over time, so top up the joints when you see them getting low. Wash the surface as needed with water and a stiff broom, and clean spills soon so they do not stain.
If you want to seal the pavers, wait 60 to 90 days first, per Unilock’s sealing guidance. New pavers need that time to cure and release moisture, and sealing too soon can trap haze under the sealer. For routine washing and stain care, our paver cleaning guide covers the methods that work on Florida patios.
DIY or Hire a Pro?
Walkways and small patios are doable for a handy homeowner with a rented compactor. The steps are simple, the base depths are manageable, and a weekend of steady work can finish a small project. Plan for help with the digging, since moving soil and gravel is the hardest part of the job.
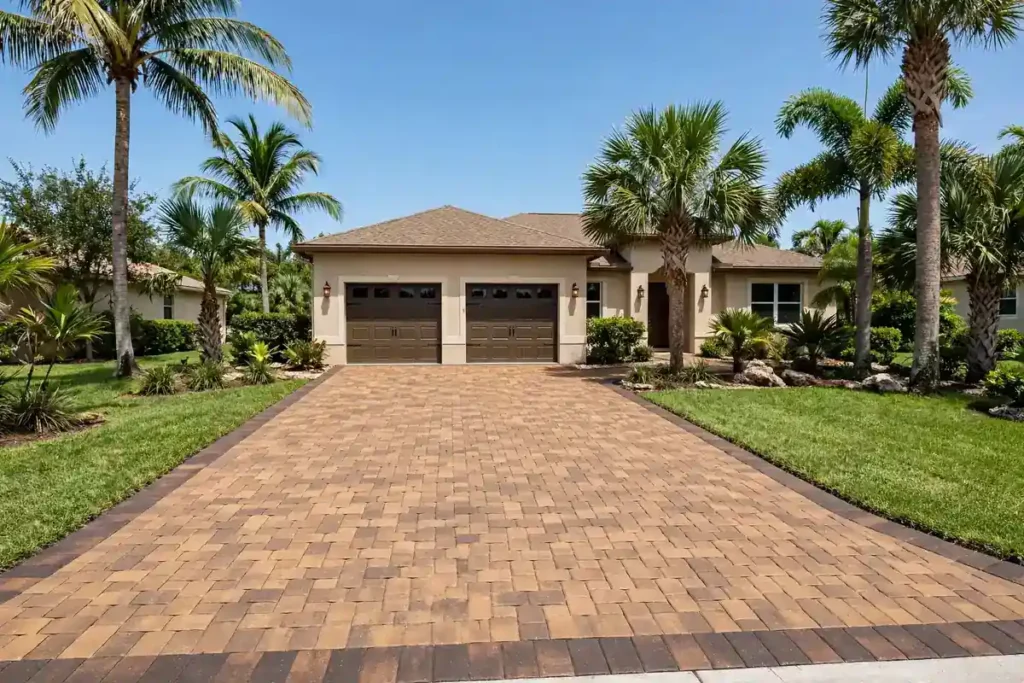
Driveways are a different story. They need a deeper base, they carry cars every day, and a base mistake under a driveway costs far more to fix than one under a patio. For driveways, hiring a pro is the safer choice, and our paver driveway cost guide explains what drives the price.
Paver Installation in Palm Coast
Florida sand, summer storms, and salt air make the base even more important here than in drier states. A base built for our soil and our rain keeps patios flat through wet summers and dry winters alike. We build paver patios, walkways, pool decks, and driveways across Palm Coast, Flagler Beach, Bunnell, Ormond Beach, and St. Augustine, with the base depth matched to each project and each yard.
If you would rather skip the digging and the rented compactor, we can handle the whole job. See our hardscape services for what we build, or request a free estimate and tell us about your patio or walkway. You can also call us at (386) 237-2983, and we will walk your yard with you and plan the base your project needs.
Frequently Asked Questions
Yes. Remove all grass and topsoil to reach firm soil. Grass left under a patio rots and leaves soft spots that sink later. Dig to the planned depth, then compact the soil before you add gravel. Skipping this step is one of the most common reasons patios settle.
Use 3/4-inch crushed stone with fines, spread in 4-inch lifts and compacted each time. Crushed stone locks together under the plate compactor. Round pea gravel rolls and shifts, so it makes a poor base. Keep the base even, since a wavy base shows through as a wavy surface.
For walkways, patios, and pool decks, plan 6 to 8 inches of compacted gravel. Driveways need 10 to 14 inches because vehicles weigh far more than foot traffic. Add 1 inch of screeded bedding sand on top of the gravel. Building the base to the right depth matters more than any other step.
Use polymeric sand, not plain sand. Sweep it into dry joints, then mist it lightly so it binds. Polymeric sand resists ants and rain better than regular sand. Finish the job with an edge restraint, which keeps the outer rows from spreading and opening the joints.
Yes, if the concrete is level, sound, and drains away from the house. You will need a thin-set or overlay system made for that job, plus an edge restraint to hold the border. If the slab is cracked or heaved, remove it first. A failed slab makes a poor foundation for pavers.
A small patio often takes 2 to 4 days for a crew, while a large driveway can take a week or more. Digging and base prep take most of the time. Rain delays the work, since wet gravel cannot be compacted well. Rushing the base to save a day usually costs far more in repairs later.