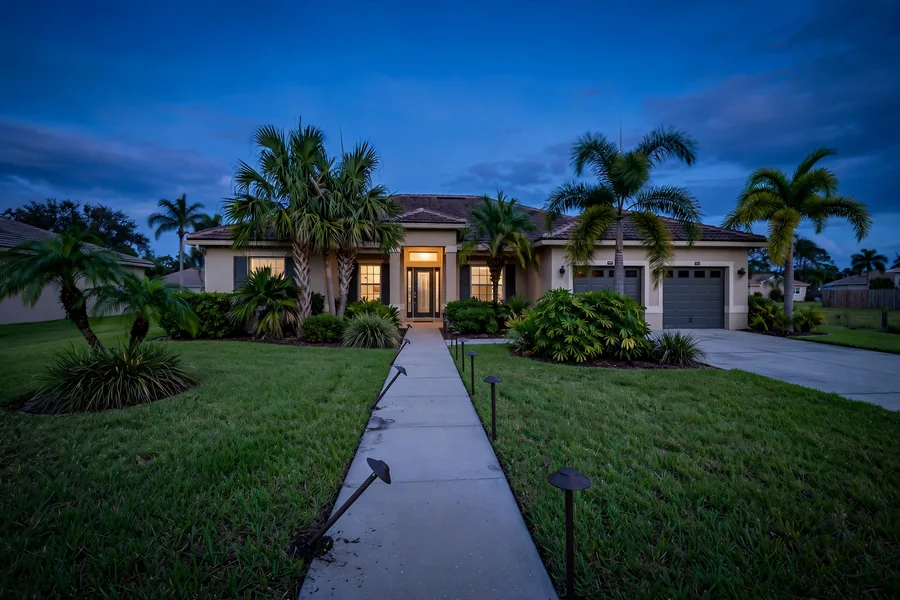
To fix landscape lighting, start with the size of the failure. If every light is out, check the breaker, the GFCI outlet, the timer, and the transformer. If one light is out, check its bulb and socket. If the far lights are dim, the wire run is losing voltage. Most failures trace back to one of these six checks.
A dark yard is more than a lost look: it is a tripping hazard and an open door after dark. The pattern tells you where to start: every light out means power or transformer, one group out means a cut wire, one light out means a bulb or socket, dim far lights mean voltage drop.
Safety First: What You Can Touch and What You Cannot
Most landscape lighting runs on low voltage, usually 12 volts. The transformer is not: it plugs into a 120 volt household outlet. Never open the transformer case and never work on live household wiring.
Turn the power off at the breaker before you open a fixture or touch a wire, and let hot bulbs cool first. If a GFCI trips again right after you reset it, or a breaker will not stay on, stop and call a pro.
Check 1: The Breaker and the GFCI Outlet
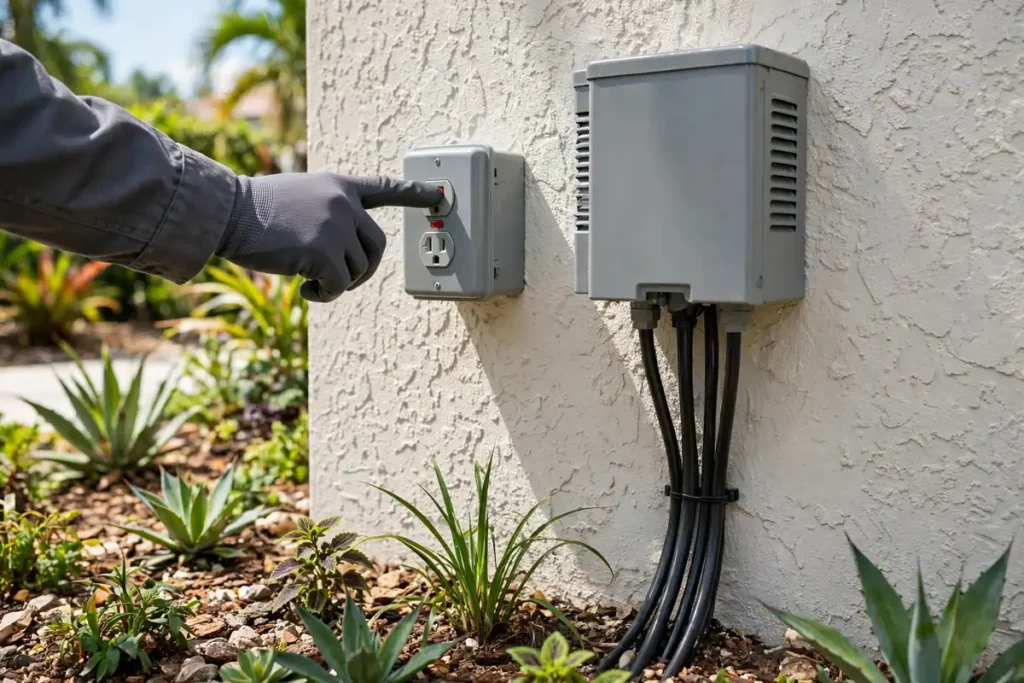
Start at the house. Check that the breaker feeding the transformer outlet is on, then find the GFCI outlet itself. Outdoor GFCI outlets trip often in Northeast Florida, where rain and humidity get into them, and a tripped GFCI cuts power to the whole system.
Press the reset button. If it clicks in and stays, the lights should come back. If it trips again at once, unplug the transformer and try again. If the GFCI holds with the transformer unplugged, the fault is in the lighting system. If it still trips with nothing plugged in, the outlet is bad and needs an electrician.
Check 2: The Timer and Photocell
A transformer can have full power while the timer or photocell keeps the lights off. Check the timer clock first: a power cut resets many timers. Switch the timer to manual on. If the lights come on, the schedule was the problem.
Next check the photocell, the sensor that turns the lights on at dusk. Wipe its lens clean: dirt and spider webs block the light it reads, and shade from a new plant or parked car keeps it from seeing dusk. If the lights work in manual mode but never on their own, the photocell or timer is the part to replace.
Check 3: The Transformer
The transformer steps 120 volt household power down to 12 volts. When everything is dark and the breaker, GFCI, and timer all check out, the transformer is next. A magnetic transformer that hums loudly is failing, and an electronic one often fails silently.
Many transformers have a built-in breaker that trips on overload or a shorted wire. Press it once. If it trips again, find the short first. A multimeter gives the sure answer: the output terminals should read the rating on the case, usually 12 or 15 volts. A zero reading means the transformer has failed, and a low reading means overload. Engineer Fix notes a transformer should run below 80 percent of its rated capacity.
Check 4: One Light Out Means Bulb or Socket
One dark fixture is the cheapest fix there is. Bulbs burn out, even LEDs, and a loose bulb breaks contact just as surely as a dead one. Push the bulb firmly into its socket and check that it sits straight.
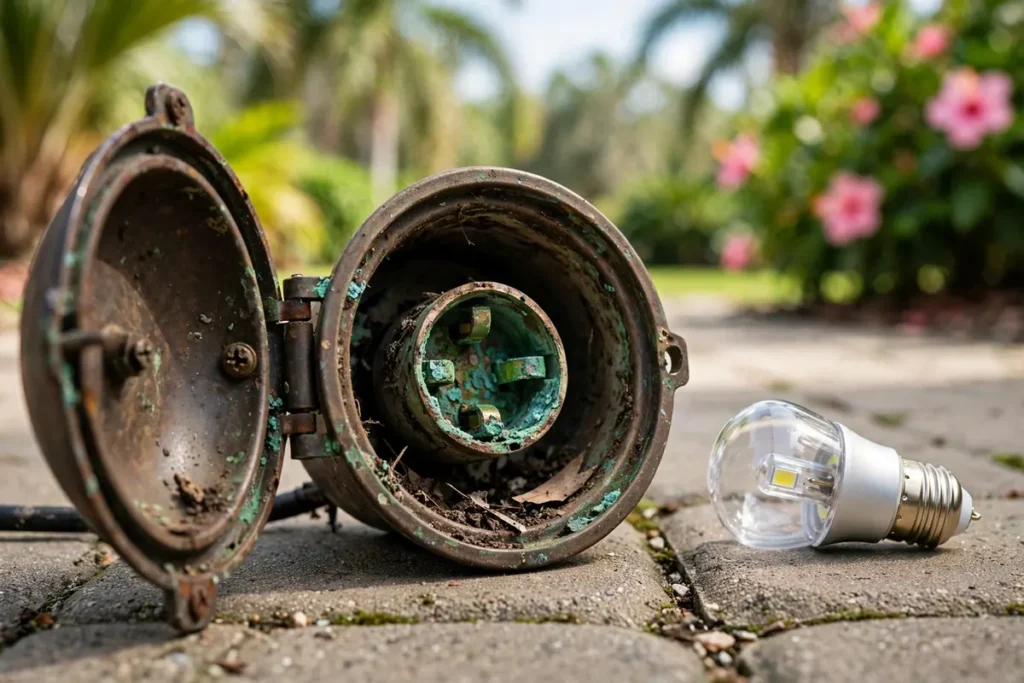
Swap the suspect bulb with a good bulb from a working light. If it lights in that socket, the old bulb was dead. If it stays dark, the fault is in the fixture. Open it and look at the socket contacts. In coastal Florida, salt air turns copper contacts green or white with corrosion, and that film stops the current. Clean the contacts with fine sandpaper, and replace the socket if the metal is pitted.
Check 5: A Whole Group Out Means a Cut Wire or Bad Splice
When a whole zone goes dark while the rest stays lit, the fault sits on that wire run. The most common cause is a cut cable: edgers, shovels, aerators, and new planting all nick buried low voltage wire, and a cut takes out every light downstream of it. Path lights along garden pathways take the most hits, because the cable runs right where the edger passes.
With the power off, dig up the cable along the dead run and look for nicks and cuts, then check the splices. A loose or corroded splice builds resistance and starves the fixtures past it. Rebuild any bad splice with burial-rated connectors in the exact wire size. Indoor wire nuts and tape are not a repair outdoors.
Check 6: Dim Lights at the Far End Mean Voltage Drop
Voltage drops along a wire because the wire itself resists the current. On a long run or a run loaded with too many fixtures, the near lights burn bright while the far ones glow dim and orange. This is voltage drop.
Check it with a multimeter: read the voltage at the transformer, then at the last fixture on the run. A big gap means the wire is too thin for the load or the run is too long. Fix it by splitting the run into two shorter runs, moving the transformer closer, or rewiring with thicker cable. A multi-tap transformer can also push extra voltage down the run.
Match the Symptom to the Cause
| What you see | Likely cause | First check |
|---|---|---|
| Every light is out | Power or transformer | Breaker, GFCI, timer |
| One group is out | Cut wire, failed splice | Cable, recent digging |
| One light is out | Bulb, corroded socket | Swap bulb, clean socket |
| Far lights dim | Voltage drop | Voltage at both ends |
5 Mistakes That Make Lighting Repairs Worse
- Resetting a tripped GFCI over and over. A GFCI that will not stay reset warns of a ground fault. Find it first.
- Using indoor connectors outside. Use burial-rated landscape wire connectors.
- Burying wire too shallow. Bury it deep enough that edgers cannot reach it.
- Mixing bulb types on one run. Halogen and LED lamps behave differently at low voltage, so keep one run on one lamp type.
- Ignoring a buzzing transformer. A loud hum means the transformer is failing. Replace it before it dies.
When Repair Beats Replacement
Repair wins when the fault is one part: a bulb, a socket, a splice, a timer, or a single cut wire. Replacement wins when the system itself is worn out: fixtures corroded through, splices failing all over the yard, and a transformer already replaced once.
A rebuild is also the right call when the system still runs halogen lamps: an LED retrofit cuts wattage and eases voltage drop. If more than a third of the fixtures need work at once, price the rebuild against the repair.

A Short Maintenance Routine So It Does Not Fail Again
Twice a year, walk the system: in spring and in fall. Clean the photocell and fixture lenses, tighten loose bulbs, look for water inside fixtures, and trim plants back from the photocell.
After any edging, aerating, or planting work, check the wire runs and mark buried cable routes on a sketch of the yard. Keep the transformer area clear and dry, and test the GFCI every few months. If the walk-through finds more than one failing part, our landscape lighting services page shows what a repair visit covers.
When to Call a Pro Instead
Call a pro when the fault involves household voltage, a transformer that will not stay reset, a short you cannot find, or wire under a driveway or patio. A pro also makes sense when voltage at the far fixtures stays low even after a rewire: that points to a design problem, not a broken part. If the system is old, corroded, or still halogen, a pro can price a rebuild and retrofit in one visit. Seasonal work belongs to a pro too, from Christmas light installation to a full rebuild.
Our guide to landscape lighting cost covers what repair and replacement run in Palm Coast, so you can judge a quote before you call. For ideas on what the fixed system should look like, see our landscape lighting ideas for 2026.
Conclusion
Landscape lighting repair starts with the pattern, not a part. Every light out means power, timer, or transformer. One group out means a cut wire or a failed splice. One light out means a bulb or a corroded socket. Dim lights at the far end mean voltage drop. Check the breaker and GFCI first, then the timer, photocell, and transformer. Never open the transformer or touch live household wiring. When the fault is past the low voltage side, call a pro. We serve Palm Coast, Flagler Beach, Bunnell, Ormond Beach, and St. Augustine. Call Dreamscapes Florida at (386) 237-2983.
Frequently Asked Questions
When every light goes dark together, the cause is almost always the power source. Check the breaker, reset the GFCI outlet, and confirm the timer or photocell has not been knocked off schedule. If those are fine, test the transformer output.
Turn the transformer off, unplug it, and press its built-in reset button once. Plug it back in and turn it on. If it trips again at once, there is a short in the yard wiring.
The wire loses voltage along its length, so the far fixtures get less than 12 volts. This is voltage drop. It happens on long runs, on runs with too many fixtures, or on thin wire. Split the run, move the transformer closer, or rewire it.
Yes. Cut the damaged section out and join the ends with burial-rated connectors made for outdoor landscape wire. Never use indoor wire nuts or tape alone outdoors. Bury the repair deep enough that edgers cannot reach it again.
Read its output terminals with a multimeter. It should match the rating on the case, usually 12 or 15 volts. A zero reading means the transformer has failed. A loud hum or repeated tripping also points to a bad one.
Moisture is getting into a connection, a fixture, or the outlet. Water creates a ground fault and the GFCI trips to protect you. Dry the system out, find the wet splice or cracked fixture, and fix the leak first.