

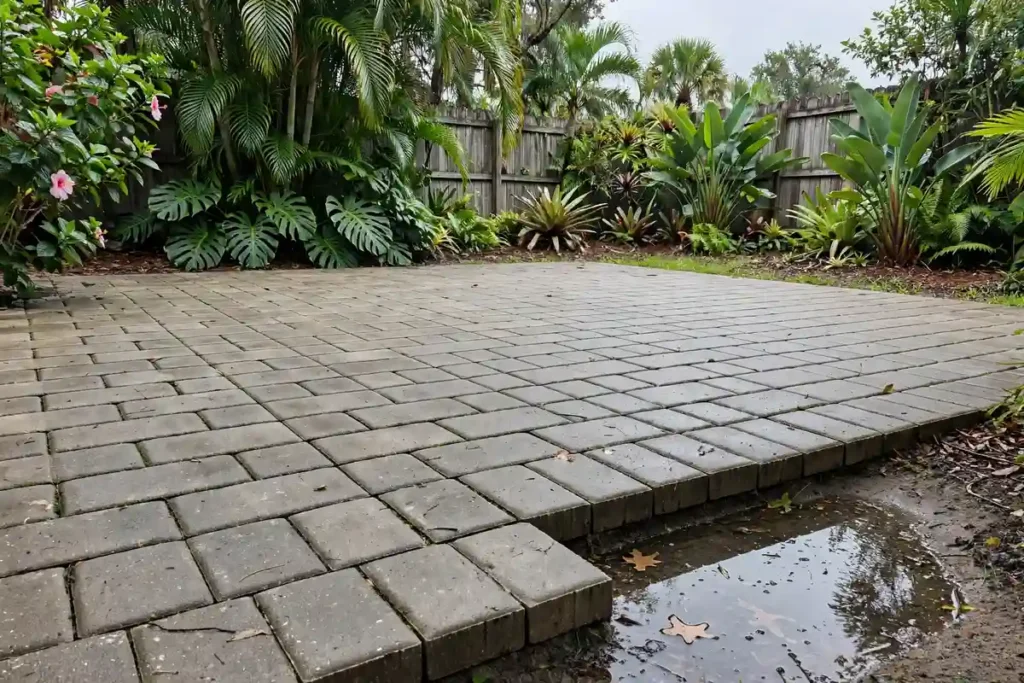
To fix sunken pavers, lift the low pavers plus one row around them, scrape out the old sand, and compact new base until it is level. Spread 1 inch of fresh bedding sand, reset the pavers, and sweep sand into the joints. First, find out why they sank, or the dip will come back.
Sunken pavers are one of the most common hardscape problems in Florida. The good news is that pavers can be lifted and reset, which is one of their biggest advantages over poured concrete. The bad news is that most repair guides skip the most important part: the cause. In our sandy soil, water is almost always involved. Fix the water and the repair lasts. Skip it and you will be doing this again next summer.
Step One: Find Out Why Your Pavers Sank
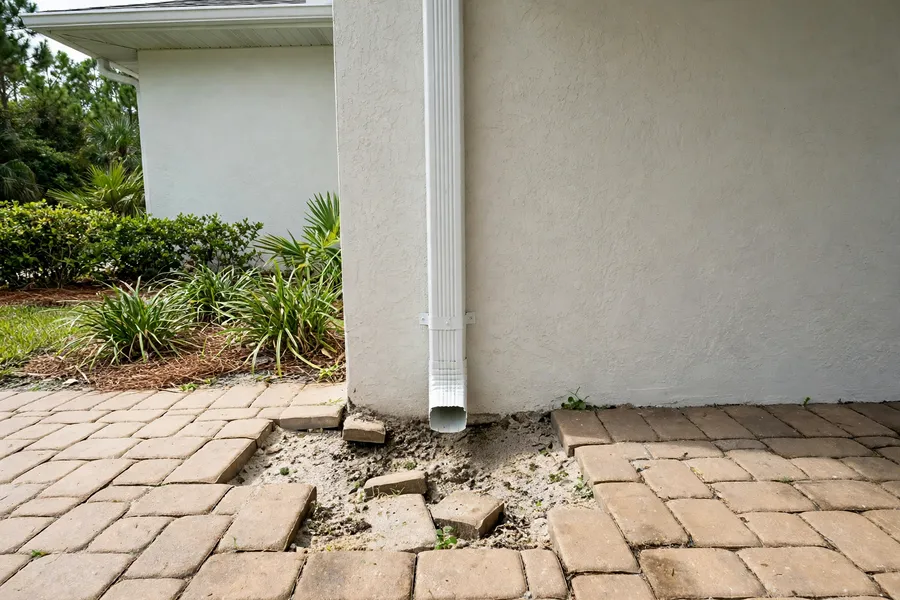
Where the dip is tells you a lot. Use this table to match the location to the likely cause.
| Where the Pavers Sank | Likely Cause | What Fixes It for Good |
|---|---|---|
| Under or near a downspout | Roof water washing out the sand | Extend the downspout away from the pavers |
| Along the outside edge | Missing or loose edge restraint | Install a solid edge restraint |
| In a straight line across the patio | Loose fill over an old pipe or wire trench | Dig out and compact the trench fill |
| Along the pool deck or a wall | Water running off the deck or leaking | Fix the slope or the leak |
| In the tire tracks of a driveway | Base too thin for vehicle weight | Rebuild with a deeper, compacted base |
| In patches with ant mounds in the joints | Fire ants moving the sand | Treat the ants, then refill joints |
| Random low spots after heavy rain | Joint sand washed out | Refill joints with polymeric sand |
Pavers that are lifting up, instead of sinking, are usually being pushed by tree roots. That needs a different fix, often involving the root itself.
Why Pavers Sink More Often in Florida
Pavers sit on a layer of compacted base rock and a thin bed of sand. Our native soil is loose, fast-draining sand. When heavy summer rain finds a path under the pavers, it carries sand with it, a little at a time. After a few storm seasons, a hollow forms and the pavers drop into it.
Poor installation makes this worse. A base that was not compacted in layers, too much bedding sand, or no edge restraint all lead to sinking within a few years. If you are still deciding between materials for a new project, our comparison of pavers vs a concrete patio explains how each one handles sandy soil.
Tools and Materials
- Two flat screwdrivers or a paver puller to lift the first paver
- Shovel, garden trowel, and a stiff broom
- Crushed base rock or paver base (for deep dips)
- Coarse concrete sand for the bedding layer
- Polymeric sand for the joints
- A hand tamper or a rented plate compactor
- A rubber mallet, a long straight board or level, and string line
- Gloves, knee pads, and safety glasses
How to Fix Sunken Pavers, Step by Step
- Mark the area. Lay a long straight board across the dip and mark every paver that sits below it. Add one extra row on each side so you have level pavers to match.
- Take a photo. Snap a picture of the pattern before you lift anything. It makes putting the pavers back much easier.
- Lift the pavers. Use two screwdrivers to wiggle the first paver up. Once one is out, the rest come out easily. Stack them in order.
- Remove the old sand. Scrape out the bedding sand. If the base rock below has a dip or feels soft, dig out the soft spots.
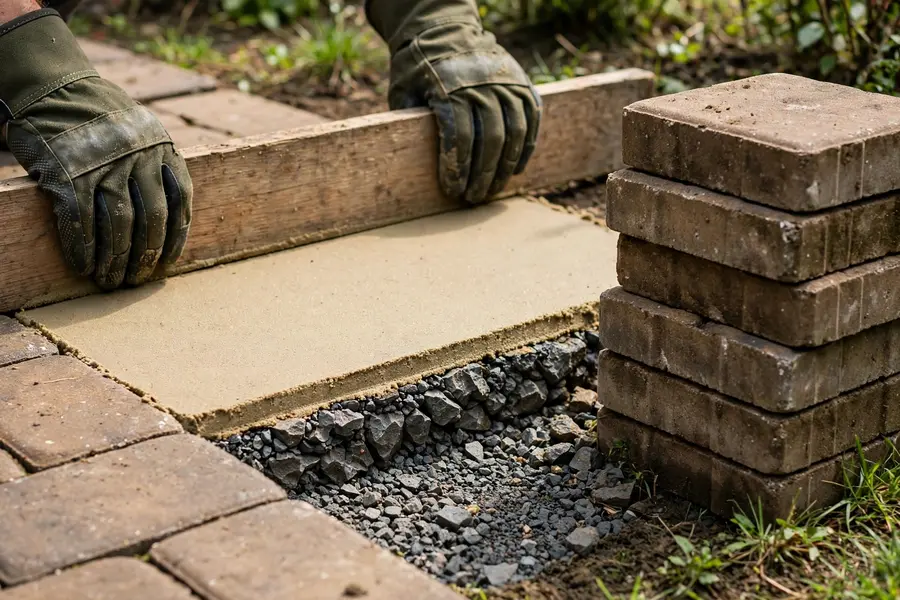
- Rebuild the base. Add crushed base rock in layers of about 2 inches. Wet each layer lightly and compact it firmly. Keep going until the base sits about 1 inch below the bottom of the surrounding pavers.
- Add bedding sand. Spread coarse sand about 1 inch deep and smooth it flat with a straight board. Do not use more sand to fill a deep dip. Thick sand is one of the main reasons pavers sink.
- Reset the pavers. Lay each paver straight down into place, following your photo. Tap them with a rubber mallet so they sit level with the pavers around them. Check with your straight board as you go.
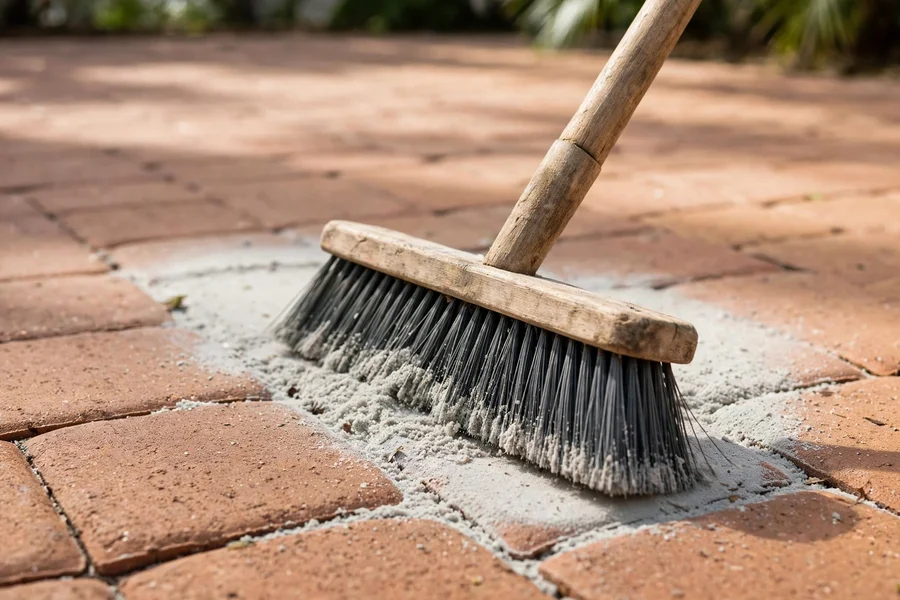
- Lock the joints. Sweep polymeric sand into the joints, compact the area, sweep in more sand, and remove the extra from the surface. Mist it lightly with water to set it, following the bag directions.
A small patch usually takes a few hours. Most of that time goes into lifting the pavers and compacting the base.
Stop the Pavers From Sinking Again
This is the part most guides leave out, and it matters most in Florida.
Move the water. Extend downspouts so roof water lands well past the paver edge. Make sure the patio slopes slightly away from the house so rain runs off instead of soaking in. If water collects in the yard around the patio, our guide to getting rid of standing water in your yard offers simple fixes.
Lock the edges. Pavers need a solid border to hold them in place. Plastic or aluminum edge restraint staked every foot or so, or a concrete curb, keeps the outer rows from spreading and dropping.
Keep the joints full. Polymeric sand hardens and resists washing out much better than regular sand. Check the joints once a year and refill any low spots. Cleaning and sealing also helps hold joint sand in place. See our guide to cleaning pavers and hardscapes.
Watch the plants around the patio. Large shrubs and trees planted too close can push pavers up, and beds that are watered heavily can keep the paver base wet. Our ideas for landscaping around a paver patio show how to plant without hurting the hardscape.
DIY or Call a Pro?
Resetting a small dip on a walkway or patio is a fair weekend project for most homeowners. Call a professional if the dip is on a driveway, covers a large area, sits next to a pool or a retaining wall, or keeps coming back after you fix it. Those cases usually mean the base needs to be rebuilt or there is a drainage problem underneath. Retaining walls near pavers bring their own water issues, which we cover in our guide to retaining wall drainage in Florida.
Repair costs depend on the size of the area and how much base needs to be rebuilt. Because most of the original pavers are reused, a reset almost always costs far less than a new patio. For a sense of full hardscape prices, see our hardscaping cost breakdown.
Paver Repair in Palm Coast
Dreamscapes Florida repairs and installs paver patios, walkways, driveways, and pool decks across Flagler and Volusia counties. We find the reason the pavers sank, rebuild the base the right way, and fix the drainage so the repair lasts. See our hardscape services for Palm Coast, Flagler Beach, Bunnell, Ormond Beach, and St. Augustine, or call (386) 237-2983 for a free estimate.
Frequently Asked Questions
Most pavers sink because water washes sand out from under them, the base was not compacted well, or there is no edge restraint holding them in place. In Florida’s sandy soil, downspouts and poor drainage are the most common causes.
Not properly. The low pavers need to come up so the base underneath can be filled and compacted. Adding sand on top or forcing material into the joints does not fix the hollow underneath.
About 1 inch of coarse bedding sand goes on top of a compacted base. Using more sand to make up for a low spot causes the pavers to shift and sink again.
Polymeric sand helps by keeping the joints full and slowing water from washing out the sand below. It does not fix a weak base or a drainage problem, so fix those first.
A small patio or walkway dip usually takes a few hours. Larger areas, driveways, or repairs that need a new base and drainage work can take a full day or more.
Sealing is optional, but it helps hold the joint sand in place and protects pavers from stains and algae. Wait until the polymeric sand has fully cured before you seal.