To landscape around a shed, keep the door, vents, and mower route clear, then add a gravel or paver path, low beds, and screening that leaves air space. Use mulch or stone at the base, direct roof water away from the walls, and check Palm Coast and HOA rules before you plant.
A shed can look like an afterthought in the yard, or it can look like part of the landscape. The difference is rarely money. It is access, drainage, and plant size. A shed that you can reach, open, and maintain will look good for years. A shed boxed in by shrubs, buried in mulch, or sitting in a puddle will not, no matter how pretty the planting was on day one.
We plan shed landscapes this way at Dreamscapes Florida. Since 2015, we have worked on Flagler County yards where heat, heavy summer rain, and sandy soil shape every choice. The steps below follow that order: access first, then paths and beds, then screening, drainage, plants, and rules.
Start With Shed Access, Door Swing and Equipment Clearance
Walk the shed before you plant anything. Open the doors all the way and mark how far they swing. Roll the mower or wheelbarrow along the route you will use, and note where it turns. Leave that whole route open.
Keep a clear strip around the shed for inspection and care. You need room to check the walls, clean the vents, and reach the back corners without climbing through shrubs. Keep plants off the walls too, since leaves pressed against siding hold moisture and hide damage. A shed you can walk around is a shed you can keep in good shape.
Mark utilities before you dig. Call 811 at least two full business days ahead so buried lines get marked. A planting plan that ignores a line will cost far more to fix later than it costs to shift a bed now.
Create a Gravel, Paver or Stepping-Stone Path
A path turns a shed from a chore into a stop you can reach in any weather. Without one, feet and mower wheels wear a muddy track through the lawn, and that track only gets worse after summer rain.
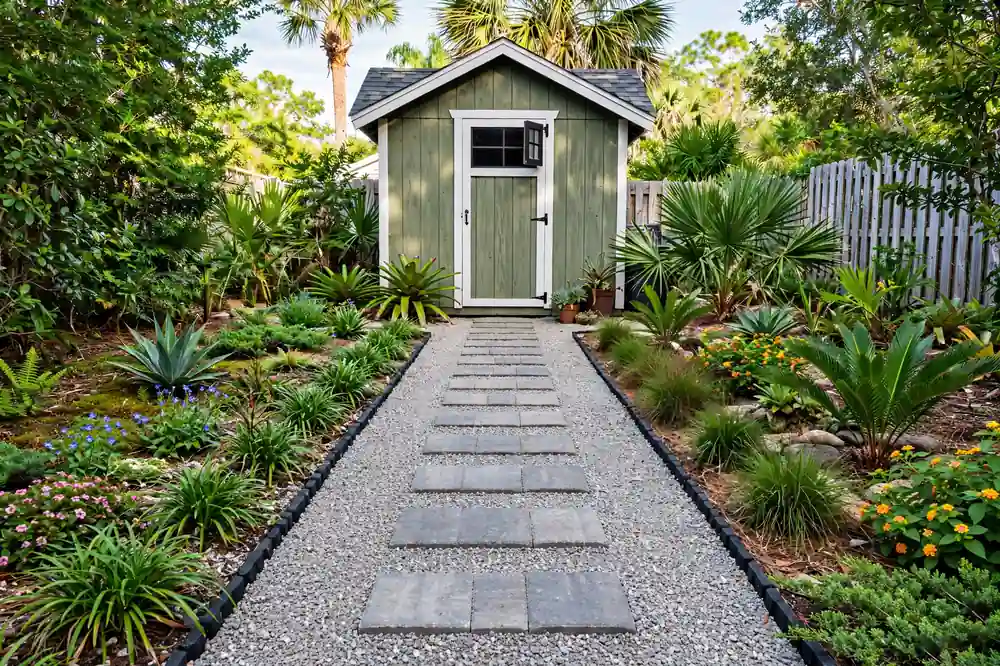
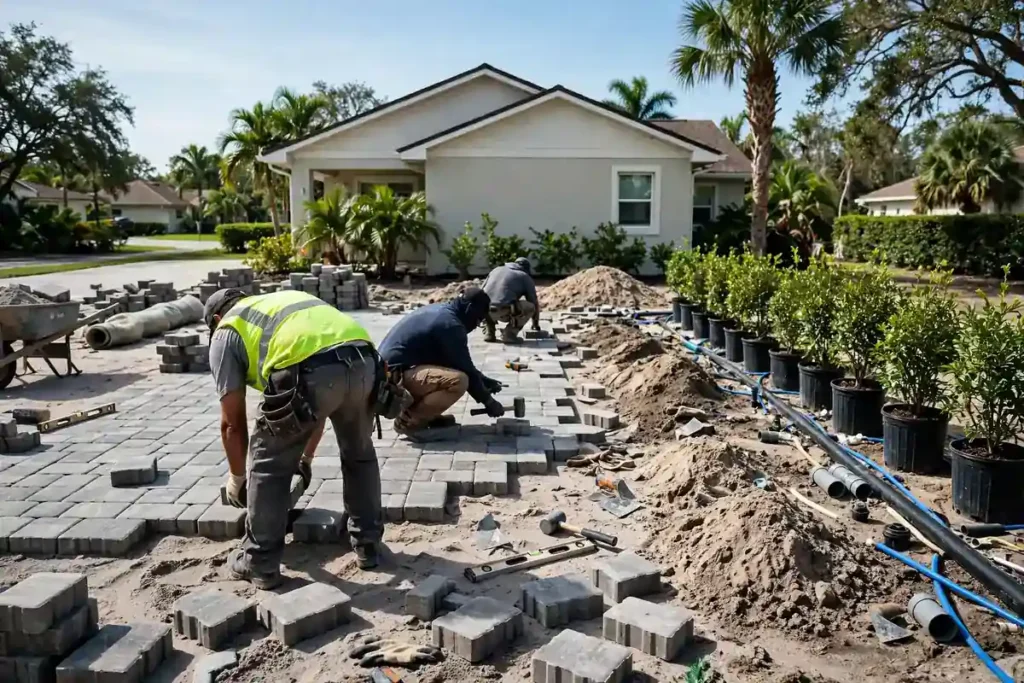
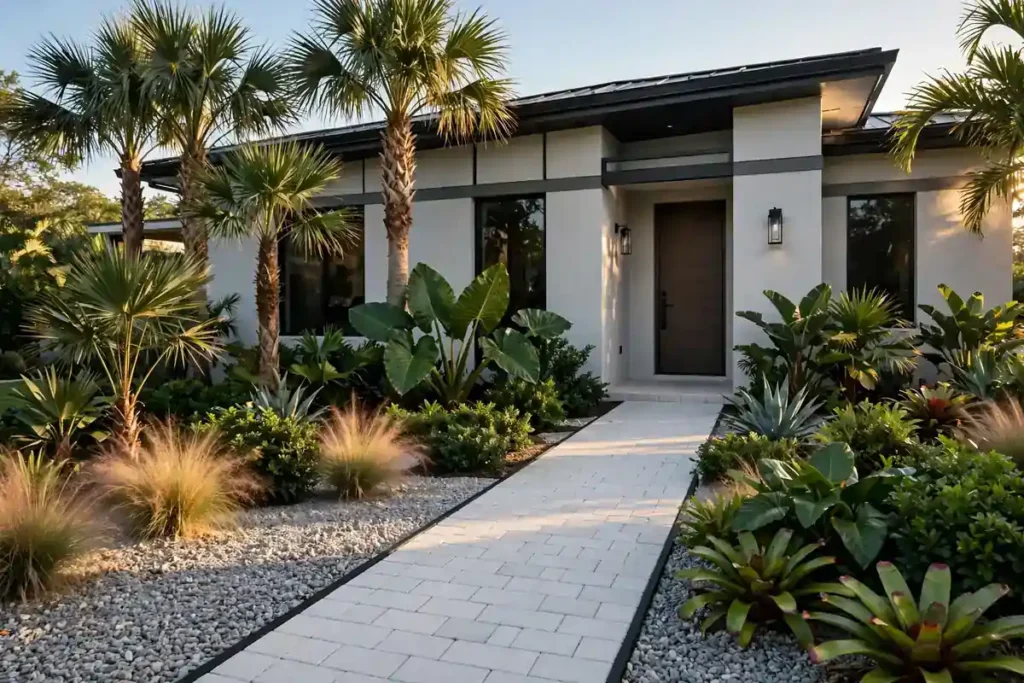
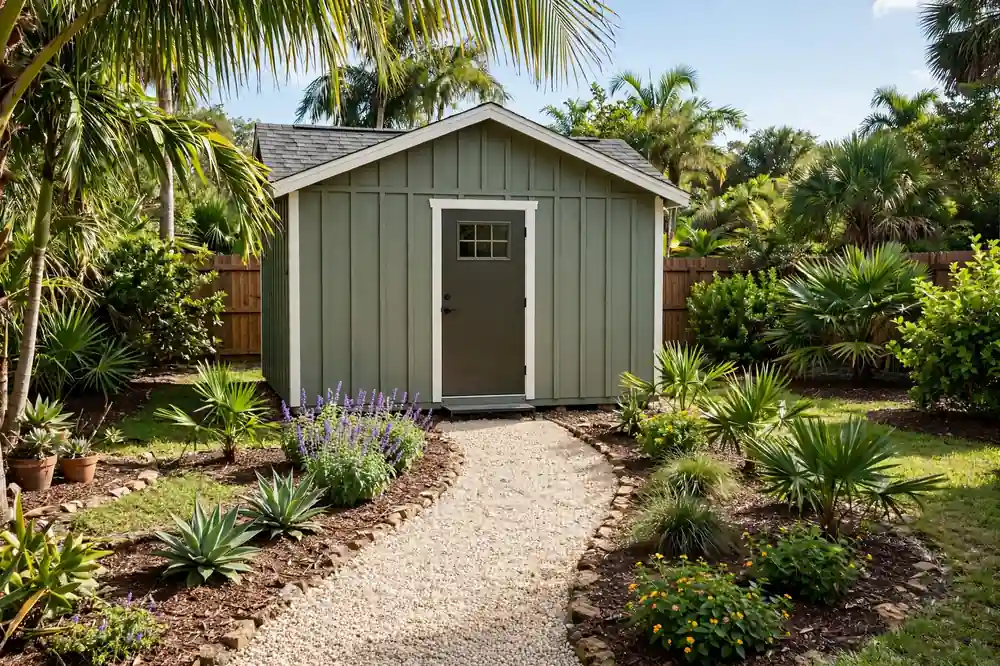
Gravel is the simplest choice. It drains fast, costs less than pavers, and suits a work yard. Pavers give a firmer, tidier surface for a mower or a cart. Stepping stones work well for a light-use shed, as long as each stone sits level and firm. Pick the surface that fits how often you use the shed, not just how it looks in a photo.
Set the path wide enough for your widest tool, and keep it level with the shed floor where it meets the door. A step up or down at the door will trip you when your hands are full. Edge the path so gravel stays in place and lawn does not creep over it.
Add Low-Maintenance Planting Beds Around the Shed
Low beds soften the shed without creating a second garden to tend. Keep the bed narrow enough to reach from the path, and pick plants that hold their shape with little pruning.
Start with a clean edge and a weed barrier of mulch, not fabric that will tangle roots later. A 2 to 3 inch mulch layer holds soil moisture and cuts weeds. Leave a gap of bare soil or stone right against the shed wall, so mulch never piles against siding. That gap keeps pests and rot away from the structure.
Group plants with like water needs together. A bed that mixes thirsty flowers with dry-soil shrubs will leave one group stressed. Fewer plant types, repeated along the bed, look tidier and need less care than a long list of one-off plants.
Use Screening Plants Without Blocking Ventilation or Access
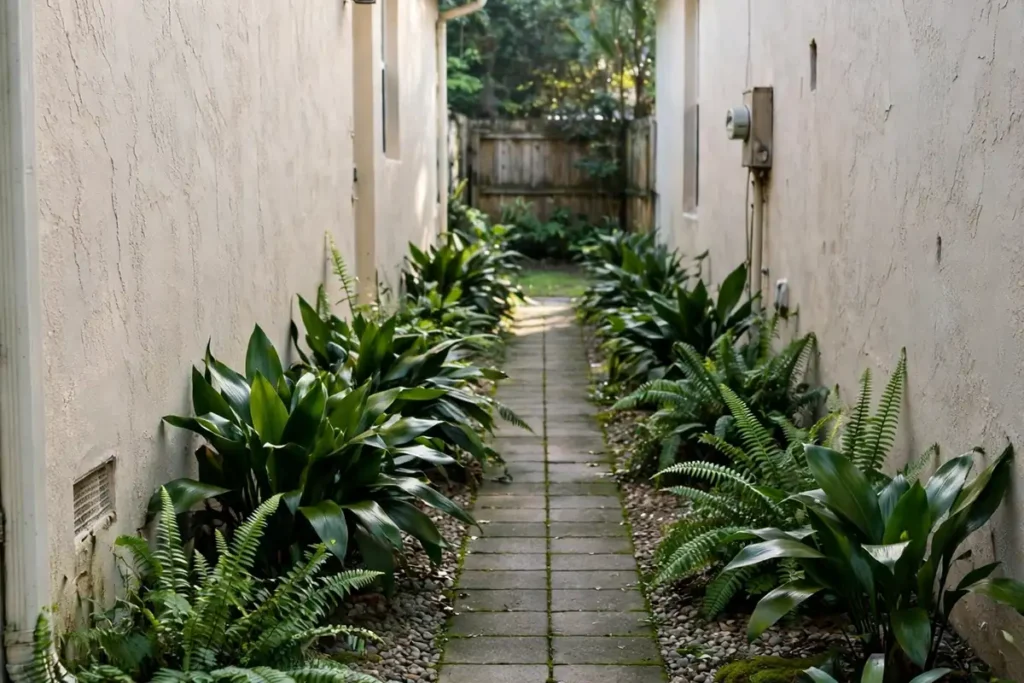
Screening hides a plain shed wall, but it must never choke the shed. Vents need air, doors need swing room, and walls need a drying gap. A screen that blocks all three will cause more harm than an ugly wall.
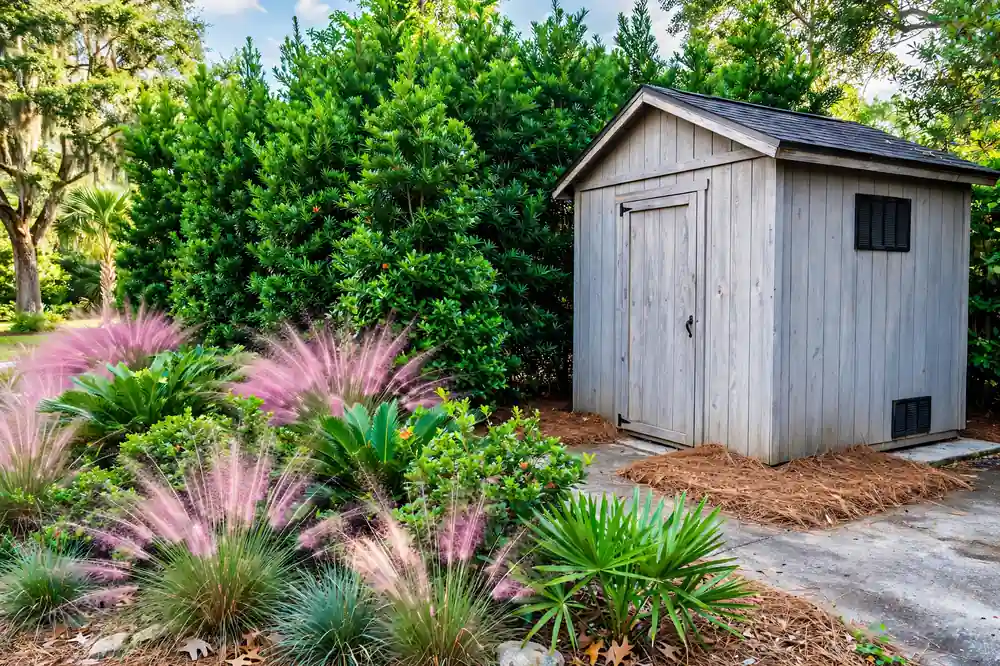
Plant the screen at least a foot or two out from the wall, based on the mature size of each plant. That gap lets air move and lets you walk behind the screen for care. Pick shrubs that stay at the height you want without constant shearing. A shrub that needs cutting four times a year to stay off the roof is the wrong shrub.
Screen the sides people see most, and leave the work side open. The front and the street side earn the planting. The back, where you reach tools and vents, earns clear space. That split keeps the shed both tidy and usable.
Soften Shed Corners With Layered Planting
Corners are where a shed looks hardest. A tall plant at each corner breaks the box shape, while low plants in front keep the corner from looking like a wall of green.
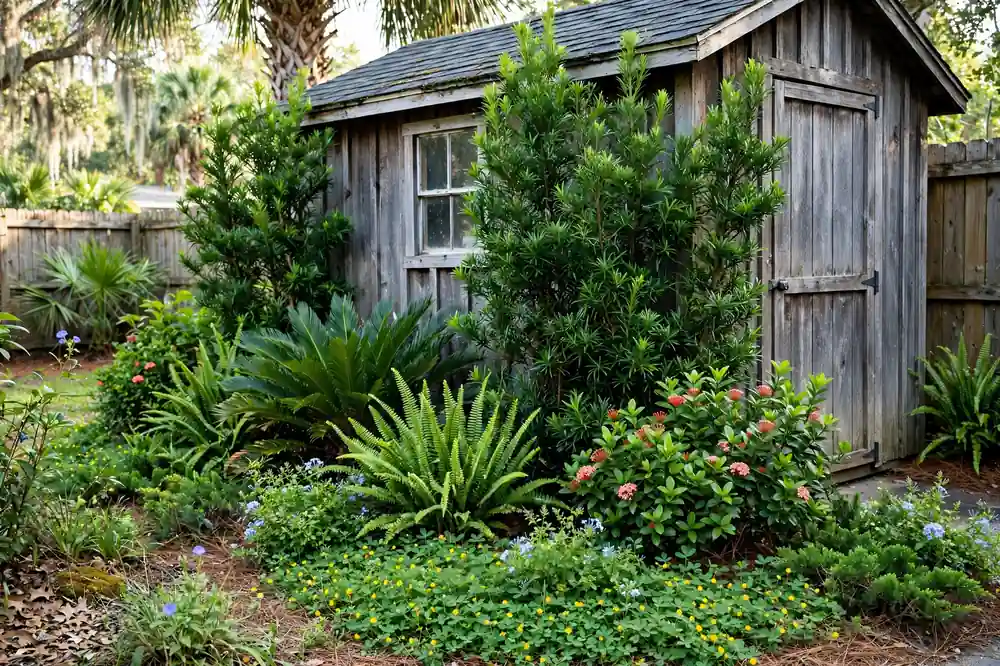
Layer by height. Put the tallest plant at the corner itself, a medium shrub beside it, and groundcover in front. That stair-step shape leads the eye around the corner instead of stopping it cold. Keep the tall corner plant clear of the roofline, so branches never rest on shingles or gutters.
Repeat the corner mix on both corners when the site allows it. Matching corners make the shed look planned. If one corner sits in shade and the other in full sun, change the plants but keep the same heights and rhythm, so the two sides still read as one design.
Use Mulch, Decorative Stone and Clean Edging
The ground layer decides whether a shed bed looks finished or messy. Mulch gives a soft, natural look and feeds the soil as it breaks down. Decorative stone lasts longer, drains fast, and suits a work area, but it holds heat and will not feed plants.
Pick one main ground cover for the shed area and use it through the whole bed. Mixed patches of mulch, stone, and bare soil look unfinished. Edge the bed with stone, metal, or a clean cut edge, so the cover stays put and the lawn stays out. Re-edge once a year, since edges blur with mowing and rain.
Keep the ground cover a few inches away from the shed walls and off the door track. Stone or mulch piled against the door will jam it, and cover against siding will hold moisture on the wall. A small stone apron at the door keeps feet clean without blocking the swing.
Plan for Roof Runoff, Drainage and Florida Summer Rain
Florida summer rain tests every shed. A roof with no gutter drops a sheet of water right at the base, and that water digs a trench, splashes soil on the walls, and soaks the floor edge.
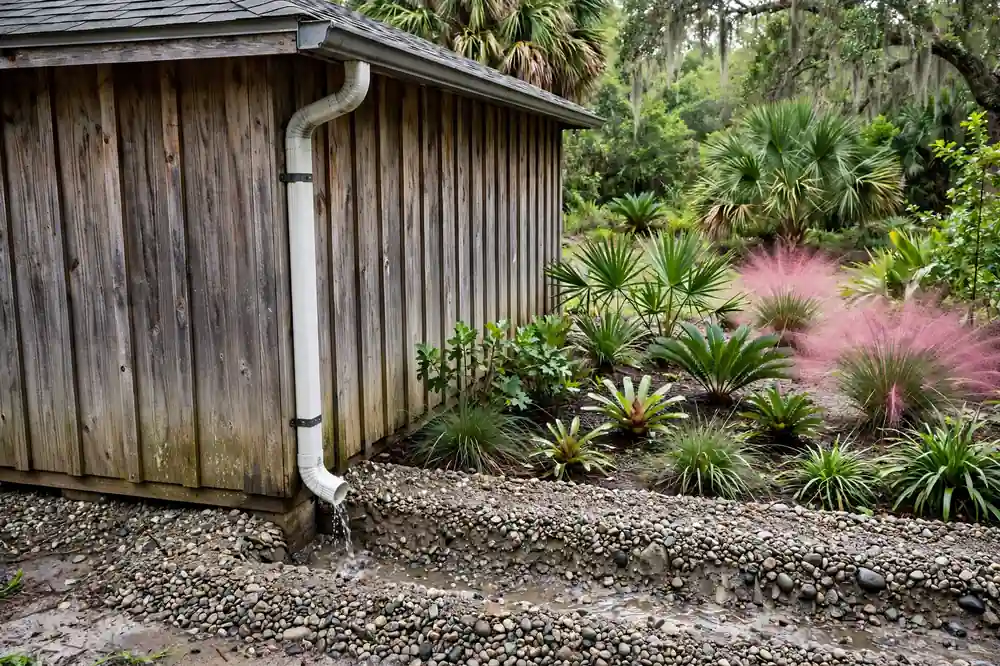
Give roof water a place to go. A gutter with a downspout that leads away from the shed is the surest fix. Where gutters do not fit, a gravel strip or a shallow swale at the drip line catches the fall and moves it away. Grade the soil so water flows away from the shed, never toward it.
Watch the yard after a hard rain before you lock in the plan. Note where water stands, where mulch washes out, and where the path turns muddy. Fix those spots with grading or a drain, not with more plants. Plants will not fix standing water, and they will drown in it. Our guide to French drains and dry creek beds shows how to move yard water in a way that fits a Florida lot.
Choose Plants for Sun, Shade, Sandy Soil and Salt Exposure
Palm Coast yards run hot, drain fast, and sit close enough to the coast for salt and wind to matter. Plants that love rich, moist soil often fail here. Match each plant to the sun, soil, water, and salt exposure of its exact spot.
Check mature size before you buy. A shrub that looks small in a pot can grow over a shed vent or roof in two seasons. Pick plants rated for heat and sandy soil, and group them by water need, so one bed does not leave half its plants dry and half drowned. Native and Florida-friendly choices tend to need less water and care once their roots settle.
Mix evergreen structure with seasonal color. Evergreens hold the shed landscape together all year. A few seasonal plants add life at the times you notice the shed most. A bed that is all seasonal color looks bare in the off season, and a bed that is all green can look flat.
Check Palm Coast Shed Landscaping and HOA Requirements
Rules can shape a shed landscape as much as soil can, and they differ from shed to shed. The City of Palm Coast building page describes shed placement and screening, and some sheds that are visible from an adjoining property or a right-of-way require medium screen planting, with size and spacing set out in the applicable shed rules.
Do not read one rule as the rule for every shed. Shed categories and size thresholds differ, and the current city page is the source to check, not a summary in any article. HOA or architectural rules may be stricter than city rules, so check both before you plant. Confirm the exact category for your shed, and get written approval where your community requires it, before you sign for work.
This guide is a landscape plan, not a shed installation or permit guide. If you are building or moving a shed, confirm placement, size, and screening with the City and your HOA first. Planting a screen that meets the wrong category will cost you the planting twice.
Keep the Shed Landscape Easy to Maintain
A shed landscape earns its keep when care stays simple. Plan one short care pass each season: trim shrubs back from walls and vents, top up mulch or rake stone level, clear the path, and check the drainage strip after storms.
Keep tools for the job near the shed, and keep the care list short. A bed with four plant types and one ground cover takes an hour or less per season. A bed with twelve plant types, mixed ground covers, and no path will take a weekend and still look tired. Simple wins around a shed.
Walk the shed landscape after the first big summer storm. That walk shows you what the plan got right and what needs one fix: a washed-out edge, a shrub leaning on a vent, or a low spot that held water. Fix those small things early, and the shed area will stay tidy for years.
Shed Landscaping in Palm Coast
We have designed landscapes across Palm Coast since 2015, and shed areas are a small job that pays off far beyond their size. A clear path, a dry base, and planting that respects the shed will make the whole backyard feel finished.
If you want help planning beds, paths, screening, or drainage around a shed, explore our landscape design and landscape installation services, or see how paths and patios fit a wider yard through our hardscape services. Reach out for
Frequently Asked Questions
Use mulch or decorative stone in a narrow bed, kept a few inches away from the walls. Mulch feeds the soil and suits planting beds, while stone drains fast and suits a work area. Keep both off the door track and siding. Add a small stone apron at the door so feet stay clean without blocking the swing.
Gravel is the simplest choice, since it drains fast and suits a work yard. Pavers give a firmer, tidier surface for a mower or cart. Stepping stones work for light use if each stone sits level and firm. Keep the path wide enough for your widest tool, level at the door, and edged so the surface stays in place.
Mark the door swing and the mower route first, and leave both fully open. Keep a clear strip around the shed for inspection, vents, and wall care. Plant screens at least a foot or two out from the wall, based on mature plant size. Leave the work side open, and screen only the sides people see most.
Give roof water a place to go. A gutter with a downspout that leads away from the shed is the surest fix. Without gutters, a gravel strip or shallow swale at the drip line catches the fall. Grade soil away from the shed, watch the yard after a hard rain, and fix standing water with grading or a drain.
It depends on the shed. The City of Palm Coast building page describes shed placement and screening, and some sheds visible from an adjoining property or a right-of-way require medium screen planting, with size and spacing in the applicable shed rules. Categories and size thresholds differ, and HOA rules may be stricter, so confirm your category first.
No. Leaves pressed against siding hold moisture, hide damage, and invite pests. Keep plants off the walls, keep mulch and stone a few inches away, and leave a drying gap for air. Trim shrubs back from walls, vents, and the roofline each season, and move any plant that crowds the shed to a spot where its mature size fits.