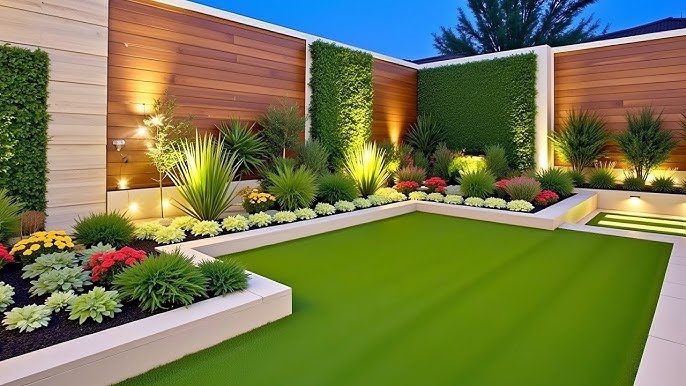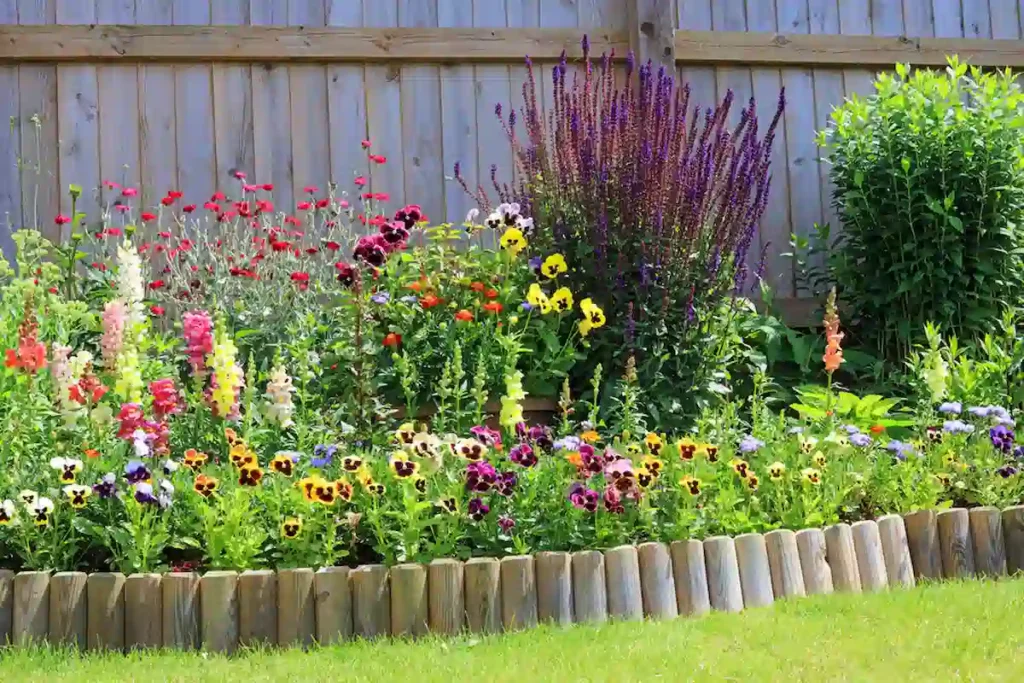
Landscape timber edging is one of the simplest and most affordable ways to give your garden or yard a clean, well-defined look. By outlining garden beds, walkways, or other areas, timber edging enhances curb appeal while providing real functional benefits — it keeps mulch, soil, and plants in place and creates a clean border between different areas of your landscape.
If you’re looking to install landscape timber edging yourself, this guide walks you through the entire process step by step, from planning your layout to securing the timbers for years of lasting use.
What Is Landscape Timber Edging?
Landscape timber edging refers to lengths of treated wood installed along the border of garden beds, walkways, or lawn areas to create a defined, physical separation between spaces. It’s a budget-friendly alternative to stone or metal edging and works well for both straight and curved garden designs.
Planning Your Landscape Timber Edging Layout
Before you begin installation, the first step is to plan where you want the timber edging to go. This involves deciding the exact layout of the garden or yard area you want to edge.
Landscape timbers are versatile, allowing you to create both straight and curved borders depending on the look you want. Start by measuring the area to get proper dimensions for your timber.
Once you have your measurements, mark the spot where you’ll place the timber. A garden hose, string, or marking paint all work well to outline the edges. For curved designs, the hose method is most effective, since it lets you shape smooth curves without needing precise measurements.
Consider the natural flow of your yard when planning the layout, and leave enough space for your plants to grow — this pairs well if you’re also planning new flower beds or dwarf plant borders alongside your edging.
Materials Needed for Timber Edging
The next step is gathering the right materials for the project. Landscape timbers are usually made of treated wood designed to withstand outdoor elements, and they come in a variety of lengths and thicknesses — choose ones suited to your project size.
You’ll also need:
- Stakes (metal or wood) to secure the timber in place
- A shovel for digging the trench
- A saw to cut timbers to size
- A hammer and level for accurate installation
- Safety gloves, goggles, and a tape measure
For a more decorative finish, consider adding stones, gravel, or mulch around the timber after installation for a polished, professional look. If you’d rather skip the DIY route, a professional landscape contractor can handle installation for you.
Preparing the Area for Timber Installation
After gathering your materials, prepare the area where you’ll install the timber. Begin by removing any existing grass, weeds, or debris from the outlined location — this makes installation easier and prevents weeds from growing up through the edges later.
Using your shovel, dig a shallow trench along the marked lines, about 2 to 3 inches deep and wide enough to hold the timbers securely. Keep the trench even and straight so the timbers sit properly once installed. For curved designs, take extra care to keep the trench uniform for a smooth, flowing line.
Cutting the Landscape Timbers to Size
Once your trench is ready, cut the landscape timbers to the desired length using a handsaw, circular saw, or miter saw. Measure carefully and mark the timbers before cutting. If you’re working with a curved design, you may need small relief cuts along the timber’s length to help it bend and fit correctly.
Always wear safety gear — goggles and gloves — while cutting, as the process can produce flying debris. Double-check measurements before cutting, and if adjustments are needed, cut a little at a time until the timber fits perfectly.
Installing the Landscape Timbers
Once cut, it’s time to install the timbers in the trench. Place the first timber at one end, aligning it along the marked lines, and make sure it’s level and flush against the trench edge — this sets the foundation for the rest of the border.
For a taller border, stack a second timber on top of the first, overlapping them slightly to keep everything secure. Outdoor construction adhesive between layers helps keep stacked timbers in place for a more uniform look. Once all timbers are placed, secure them with landscape stakes.
Securing the Timbers with Landscape Stakes
To keep landscape timbers firmly in place, use landscape stakes made of metal or wood, driven into the ground at regular intervals. Space stakes about 2 to 3 feet apart depending on your timber section length, and use a hammer to drive them in along the inside edge of the timber.
Stakes should be deep enough for a strong hold, but avoid driving them too deep. As you secure each stake, check the timber’s alignment and level, adjusting positioning if needed before locking everything in permanently.
Adding Finishing Touches to Your Timber Edging
With your timbers installed and secured, backfill the trench with soil or mulch to hold everything in place and fill any gaps. Pack the soil tightly around the timbers to prevent shifting over time.
For extra visual appeal, add stones, pebbles, or gravel along the timber edge — this also helps prevent weeds from growing through. If you’re edging around planting beds, a layer of mulch around your plants helps retain moisture and control weeds; for guidance on how much water your plants and lawn actually need after installation, see our guide on proper lawn and garden watering.
Maintaining Your Landscape Timber Edging
To keep your timber edging looking sharp for years, check it periodically for signs of rot or wear, especially after heavy rainfall or extreme weather. Replace any damaged timbers as soon as you notice them.
Keep the surrounding area clean and free of debris, trim overgrown plants or grass encroaching on the border, and reapply mulch or gravel as needed. If your edging borders a lawn, regular pruning and trimming nearby trees and plants helps prevent roots and overgrowth from disturbing your timber border. Similarly, if your property relies on an irrigation system, make sure sprinkler heads aren’t directing excess water at the wood — our irrigation services guide covers how to set up efficient watering zones that protect hardscaping like timber edging from water damage.
Frequently Asked Questions About Landscape Timber Edging
How long does landscape timber edging last?
Pressure-treated landscape timbers typically last 8–15 years, depending on climate, soil moisture, and maintenance. Regular inspection and prompt replacement of rotted sections extend the life of the border significantly.
Do you need to treat landscape timbers before installing them?
Most landscape timbers sold for outdoor use are already pressure-treated to resist rot and insects. If you’re using untreated wood, apply an outdoor wood sealant before installation to improve durability.
What is the best wood for garden edging?
Pressure-treated pine is the most common and affordable choice for landscape timber edging. For a longer-lasting option, cedar and redwood naturally resist rot and insects, though they cost more upfront.
Can landscape timber edging be installed on a slope?
Yes, timber edging can be installed on sloped or hillside areas by stepping the timbers in short, level sections rather than one continuous run. This prevents soil erosion and keeps the border structurally sound.
Do I need a professional to install landscape timber edging?
No — landscape timber edging is a beginner-friendly DIY project that most homeowners can complete in a weekend with basic tools. However, for large properties, sloped terrain, or curved designs, a professional landscaping contractor can ensure a cleaner, longer-lasting result.
Conclusion
Installing landscape timber edging is a simple, budget-friendly project that significantly enhances the appearance of your garden or yard. By following these steps and using the right materials, you can create a professional-looking border that clearly defines your outdoor spaces and keeps mulch, soil, and plants where they belong.
Whether you choose a straight or curved design, landscape timber edging is an effective, long-lasting way to keep your yard looking neat and well-maintained. Looking for more ways to transform your outdoor space? Explore our guides on sod installation and proper watering for a complete backyard makeover.