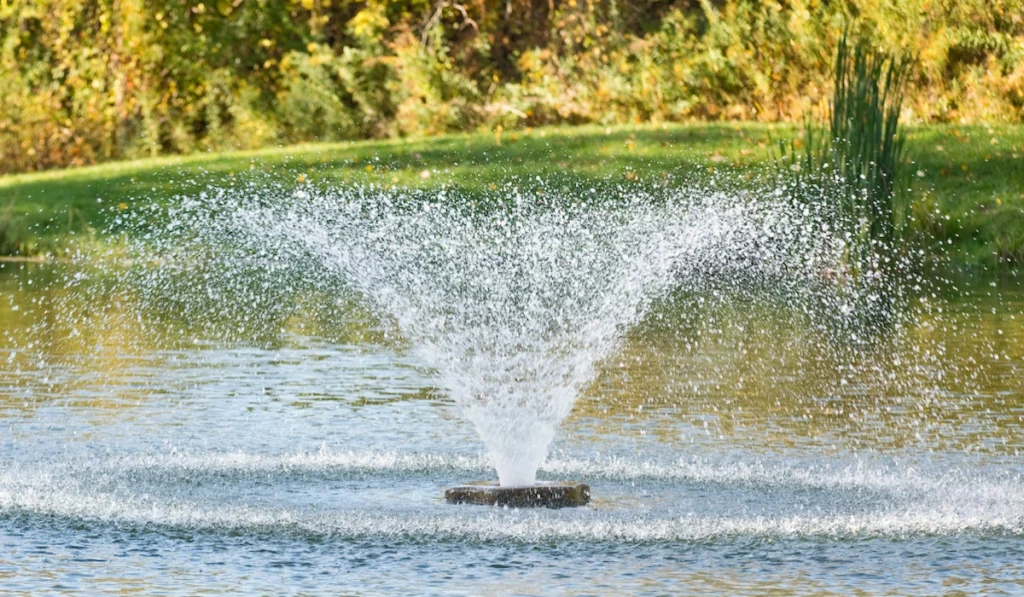
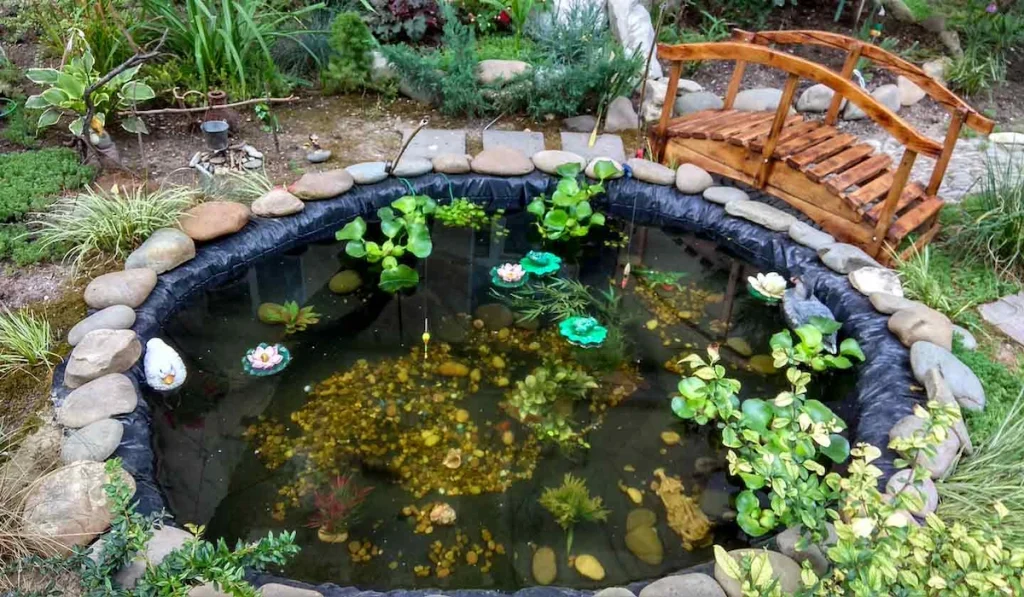
Garden fountains and ponds add beauty, tranquillity, and a refreshing touch to your outdoor space. Whether you’re looking to create a peaceful retreat, attract wildlife, or simply enjoy the soothing sound of flowing water, installing a garden fountain or pond can transform your yard into a serene oasis.
In this guide, we will walk you through installing a garden fountain and pond step by step, using simple language and easy-to-follow instructions.
Why Choose a Garden Fountain or Pond?

Before we dive into the installation process, let’s first discuss why adding a garden fountain or pond to your landscape is a good idea. Here are some benefits:
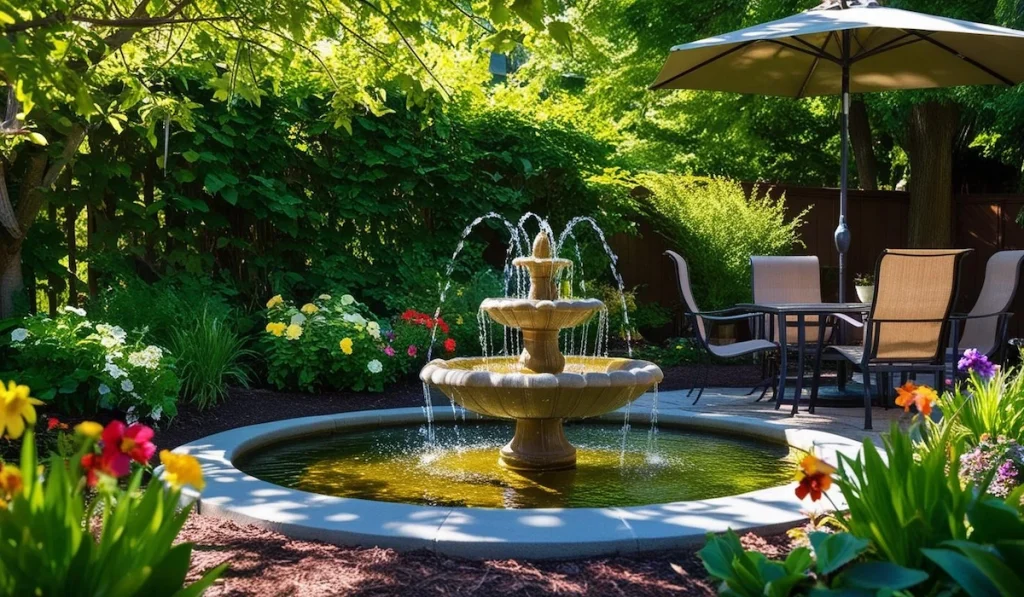
- Aesthetic Appeal: A well-designed fountain or pond can enhance your garden’s beauty, adding visual interest and creating a focal point.
- Relaxing Atmosphere: The sound of flowing water has a calming effect, helping reduce stress and improve your mood.
- Wildlife Attraction: Ponds can attract birds, frogs, and other small wildlife, making your garden a haven for nature.
- Increased Property Value: A well-maintained garden fountain or pond can enhance your property’s value by improving the overall landscape.
Now that you know the benefits, let’s move on to the step-by-step guide to installing your garden fountain or pond.
Step 1: Plan the Location
The first step in installing a garden fountain or pond is selecting the ideal location. Consider the following when choosing a spot:
- Sunlight Exposure: Ponds and fountains should be placed in areas that receive some sunlight but not too much direct exposure. Too much sunlight can cause algae growth in ponds and make fountains dry out quickly. For tips on how to properly light your garden fountain, check out this guide on lighting a garden fountain.
- Visibility: Choose a spot that is visible from your home or garden seating area so you can enjoy the beauty and sound of the water.
- Proximity to Power Source: If you’re installing a fountain, you’ll need access to an electrical outlet to power the pump. Make sure your chosen location is near a power source or plan for outdoor wiring.
- Away from Trees: While trees provide shade, they can also drop leaves and debris into your pond, requiring more maintenance. Choose a location away from overhanging branches.
Step 2: Gather Materials and Tools
You’ll need a few materials to complete your installation. Here’s a list of common materials for garden fountains and ponds:
For Fountains:
- Fountain kit (includes pump, tubing, and fountainhead)
- Water reservoir (for holding the pump)
- Decorative rocks, pebbles, or other landscaping features
- Electrical extension cord (if necessary)
For Ponds:
- Pond liner (to hold water)
- Pond pump and filter (for circulation and cleaning)
- Rocks, gravel, and pebbles (for aesthetics and filtration)
- Water plants (optional, but great for improving the pond’s ecosystem)
- Fish (optional, but they can enhance the pond’s beauty)
- PVC tubing (for water flow)
Tools You Might Need:
- Shovel
- Garden rake
- Level
- Tape measure
- Wheelbarrow (optional, for transporting materials)
- Electrical tape (for sealing outdoor connections)
Step 3: Prepare the Area
If you are installing a pond, the next step is to prepare the ground. Here’s how to dig the hole for your pond:
- Mark the Shape: Use a hose or string to outline the shape and size of your pond. You can make it circular, rectangular, or irregular – whichever shape fits your garden.
- Start Digging: Begin digging the area where the pond will go. Make sure the depth is even throughout, leaving a slightly deeper center for the pond pump.
- Check the Depth: Use a level to verify the hole’s depth. If you’re planning to add water plants, create shelves by digging the sides of the hole at different levels.
Level the Ground for Your Fountain
For a fountain, make sure the ground is level. This will ensure that the water flows evenly and doesn’t spill over from one side. If necessary, use a shovel to level the ground or add soil to raise the ground in uneven areas.
Step 4: Install the Pond Liner
Once the hole is ready, it’s time to install the pond liner. Follow these steps:
- Lay the Liner: Unfold the pond liner over the hole. Make sure it covers all the sides and the bottom of the pond.
- Smooth Out Wrinkles: Gently smooth out any wrinkles or folds in the liner. It’s important to avoid sharp bends that could create weak spots in the liner.
- Trim the Excess Liner: Once the liner is in place, trim any excess liner from the edges, leaving enough to fold over the pond’s edge.
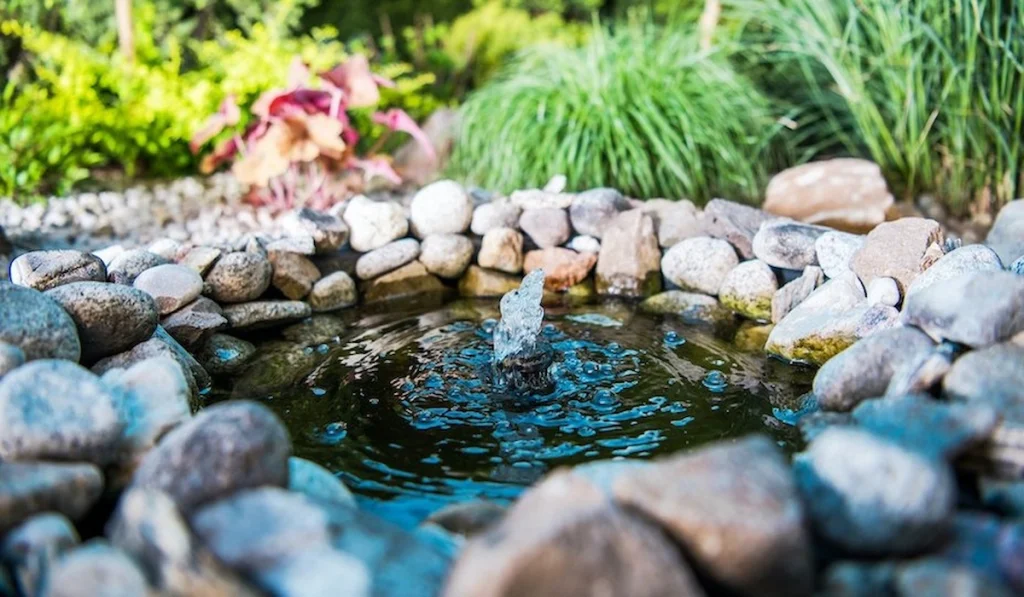
- Secure the Liner: Use rocks or bricks around the edge of the pond to secure the liner in place. These will hold the liner down and prevent it from shifting over time.
Step 5: Install the Pump and Filter
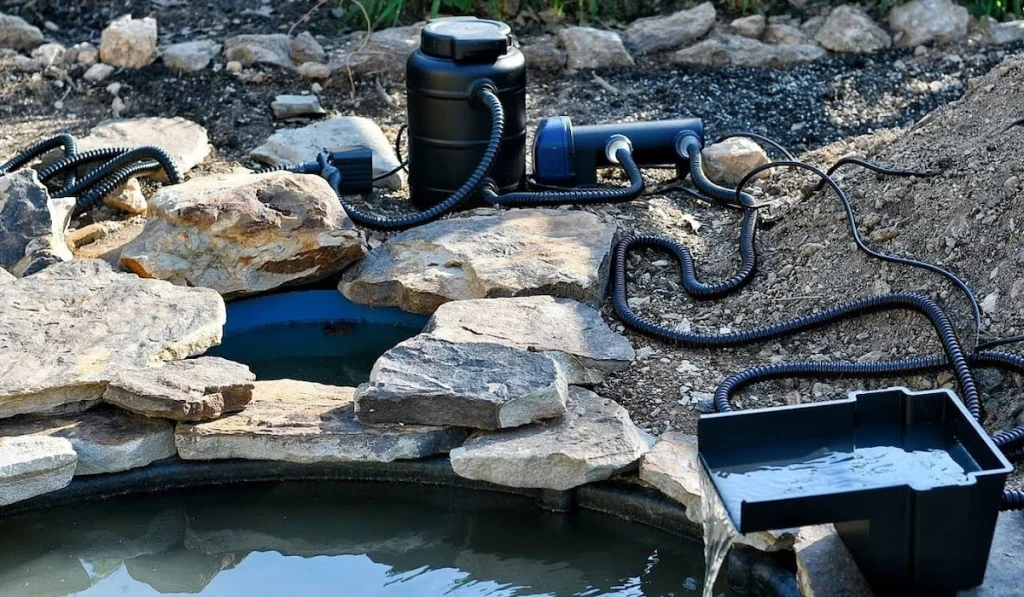
For both ponds and fountains, you will need a pump to circulate the water. Here’s how to install it:
- Install the Pump: Place the pump at the bottom of the pond or water reservoir. Make sure it is stable and won’t be moved easily.
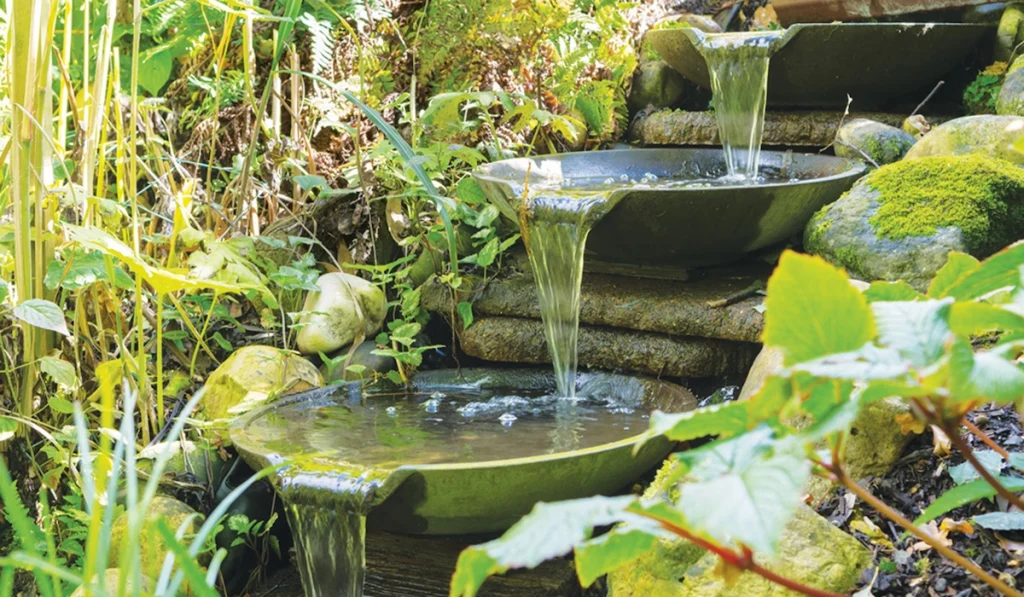
- Attach the Tubing: Connect the pump to the tubing that carries water to the fountainhead (for fountains) or to the top of the pond (for waterfalls).
- Test the Pump: Before fully assembling the rest of the pond or fountain, test the pump to ensure it’s working correctly. It should create a gentle flow of water.
Step 6: Add Decorative Elements
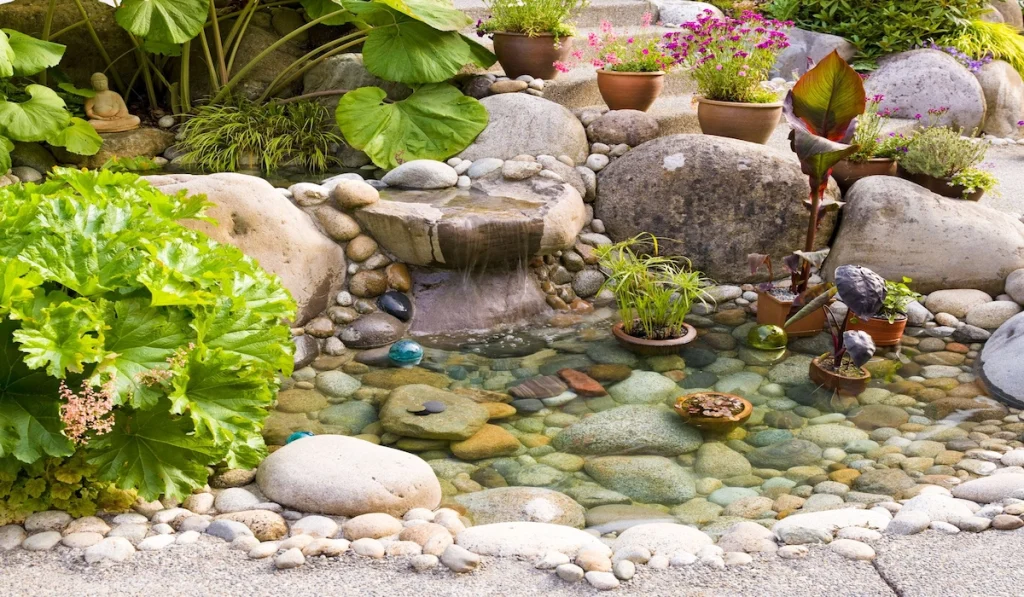
After the pump is in place, it’s time to make your garden fountain or pond look beautiful.
- For Ponds: Add a layer of gravel at the bottom to improve filtration. You can also add water plants, such as lilies, reeds, or floating plants, to create a natural ecosystem. Water plants also help keep the water clean by absorbing excess nutrients.
- For Fountains: Surround the fountain with decorative rocks, pebbles, or tiles to enhance its appearance. This also helps hide the pump and tubing.
Add Fish (Optional)
If you want to introduce fish to your pond, make sure the water is properly filtered and the pond is well-established. Fish such as goldfish or koi are popular choices. Make sure to research the type of fish that is suitable for your climate and pond size.
Step 7: Fill the Pond with Water
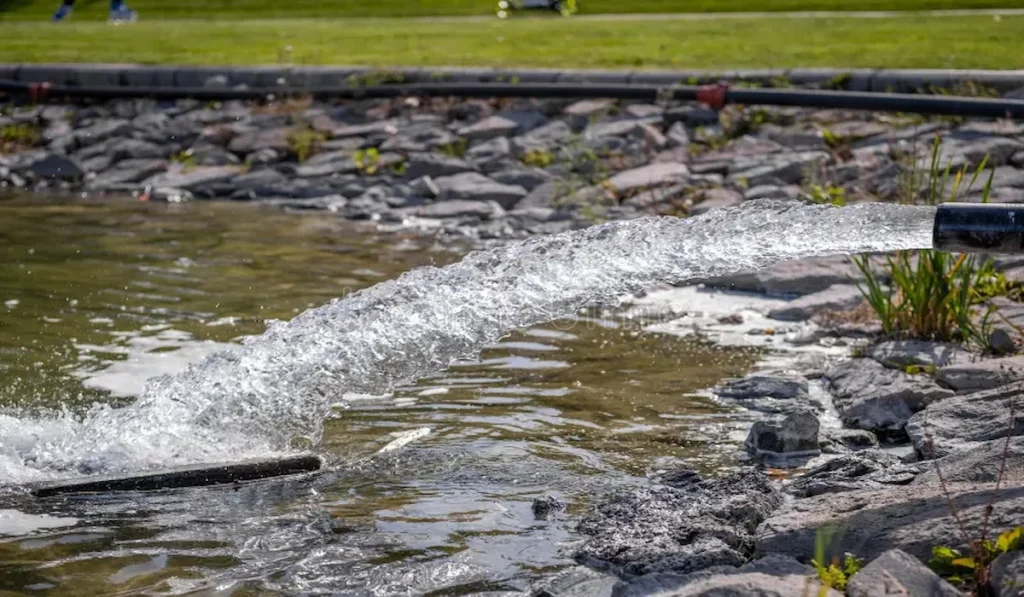
Once your pond is ready, it’s time to fill it with water. Use a hose to fill the pond slowly. Check for any leaks around the liner, and adjust the water level as needed.
Step 8: Final Adjustments and Maintenance
Once the pond or fountain is filled with water, turn on the pump and observe the flow. Adjust the tubing or fountainhead to get the desired effect. For fountains, make sure the water is flowing smoothly and creating the desired sound.
Regular Maintenance
- Clean the Pump: Regularly check and clean the pump to prevent blockages.
- Clear Debris: Remove fallen leaves or debris from the pond to keep the water clean.
- Water Treatment: Use water treatments if necessary to prevent algae buildup in ponds.
- Winter Care: In colder climates, be sure to take care of your pond or fountain by removing the pump and covering it to protect it from freezing.
Conclusion
Installing a garden fountain or pond is a rewarding project that adds beauty and tranquillity to your outdoor space. By following these simple steps, you can create a stunning water feature in your garden that will be enjoyed for years to come. Remember to plan carefully, choose the right materials, and maintain your pond or fountain to keep it looking its best.
However, if you find the installation process overwhelming or don’t have the time to maintain your pond or fountain, it may be worth considering hiring a professional landscaper. A professional can ensure that everything is installed correctly and efficiently, giving you peace of mind and a beautiful result.